Assign a Proxy User Group to an Access Policy
Prerequisites
- Ensure the
Proxy User Groupyou wish to use in this Guide has already been created, either by:- Designating a
Directory User Groupas aProxy User Group, or - Creating a standalone
Proxy User Group
- Designating a
- Ensure the users have been assigned to the group:
-
Directory Group Proxy User Group: The users have been assigned to the desired Active Directory or LDAP Server groups on the respective server, and DrawBridge has synchronized that information over. -
Proxy User Groups (standalone): The People records have been created in the DrawBridge and assigned to the desiredProxy User Group
-
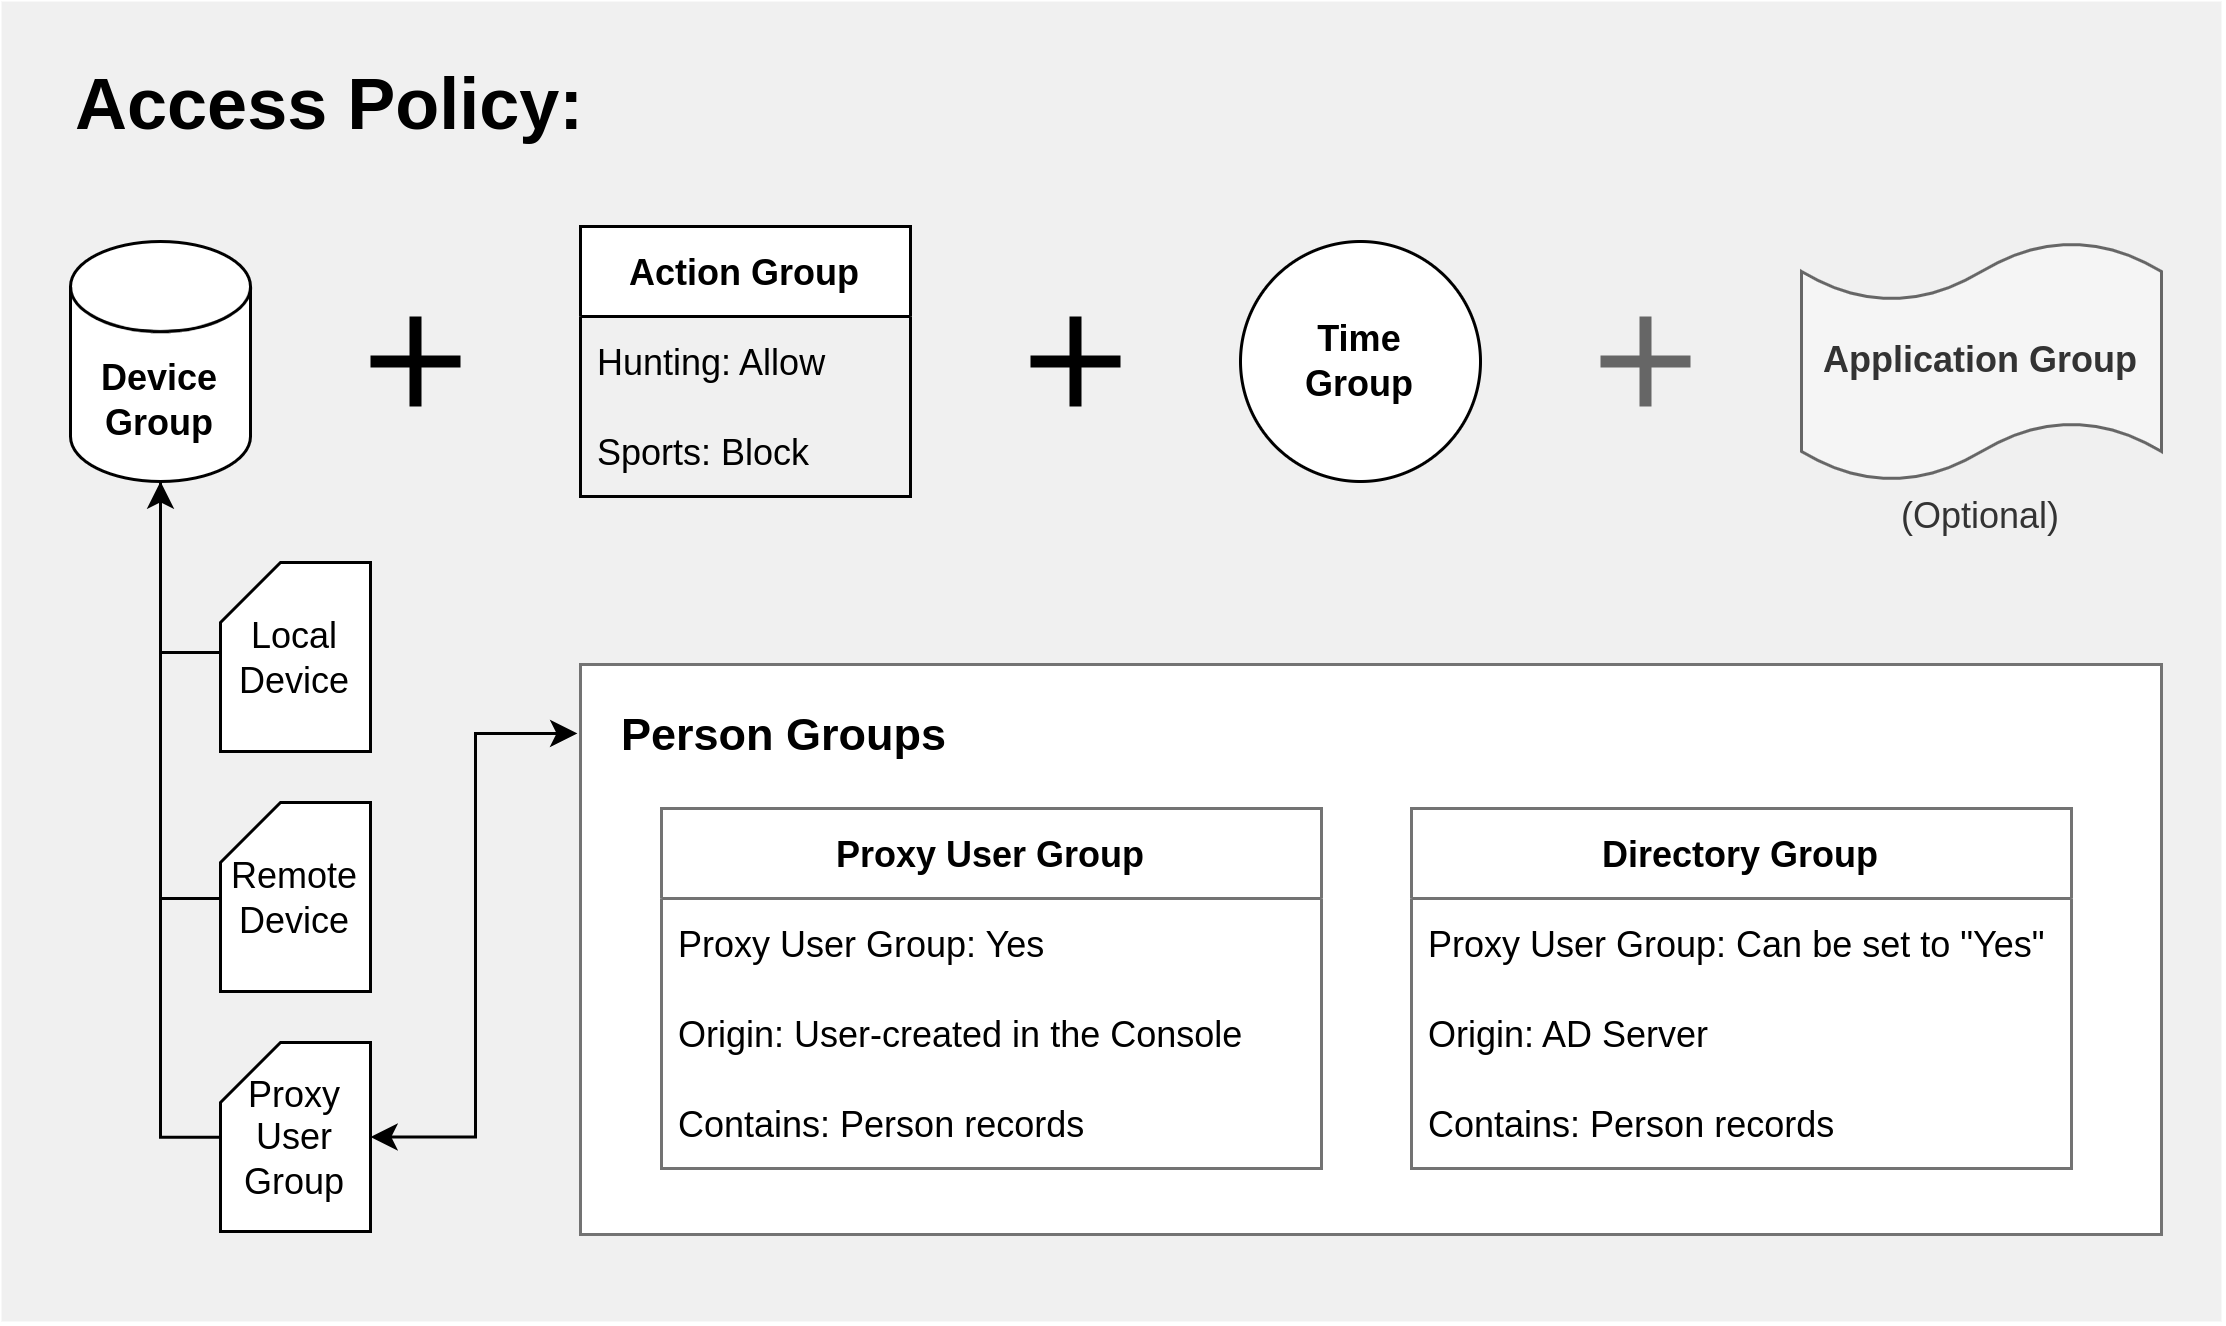
Concept Overview
1. Create a Device Group
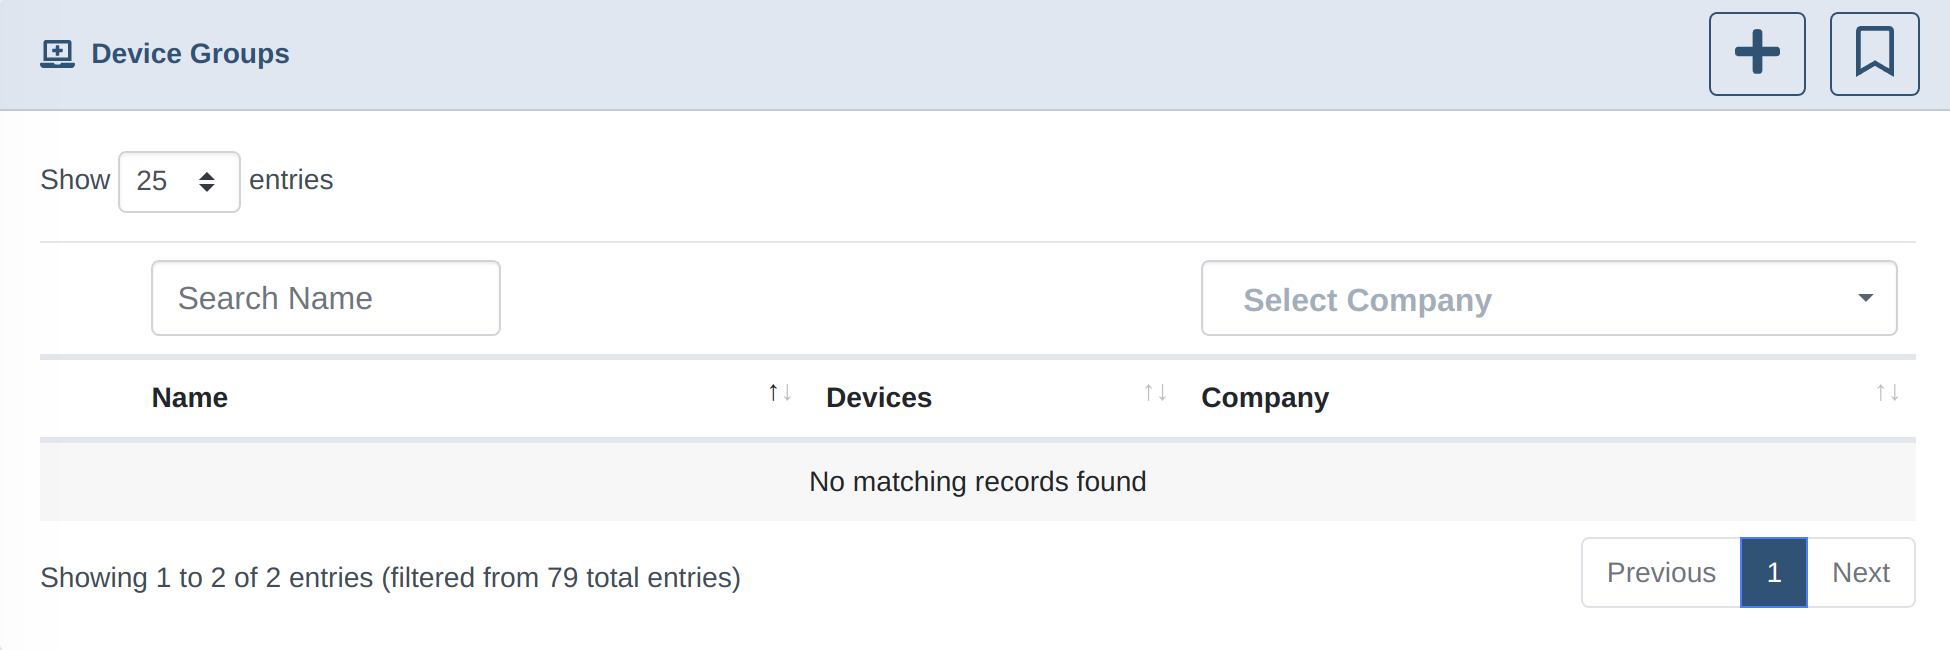
- Navigate to
Devices/Device Groups - In this example, there are no prexisting Device Groups:
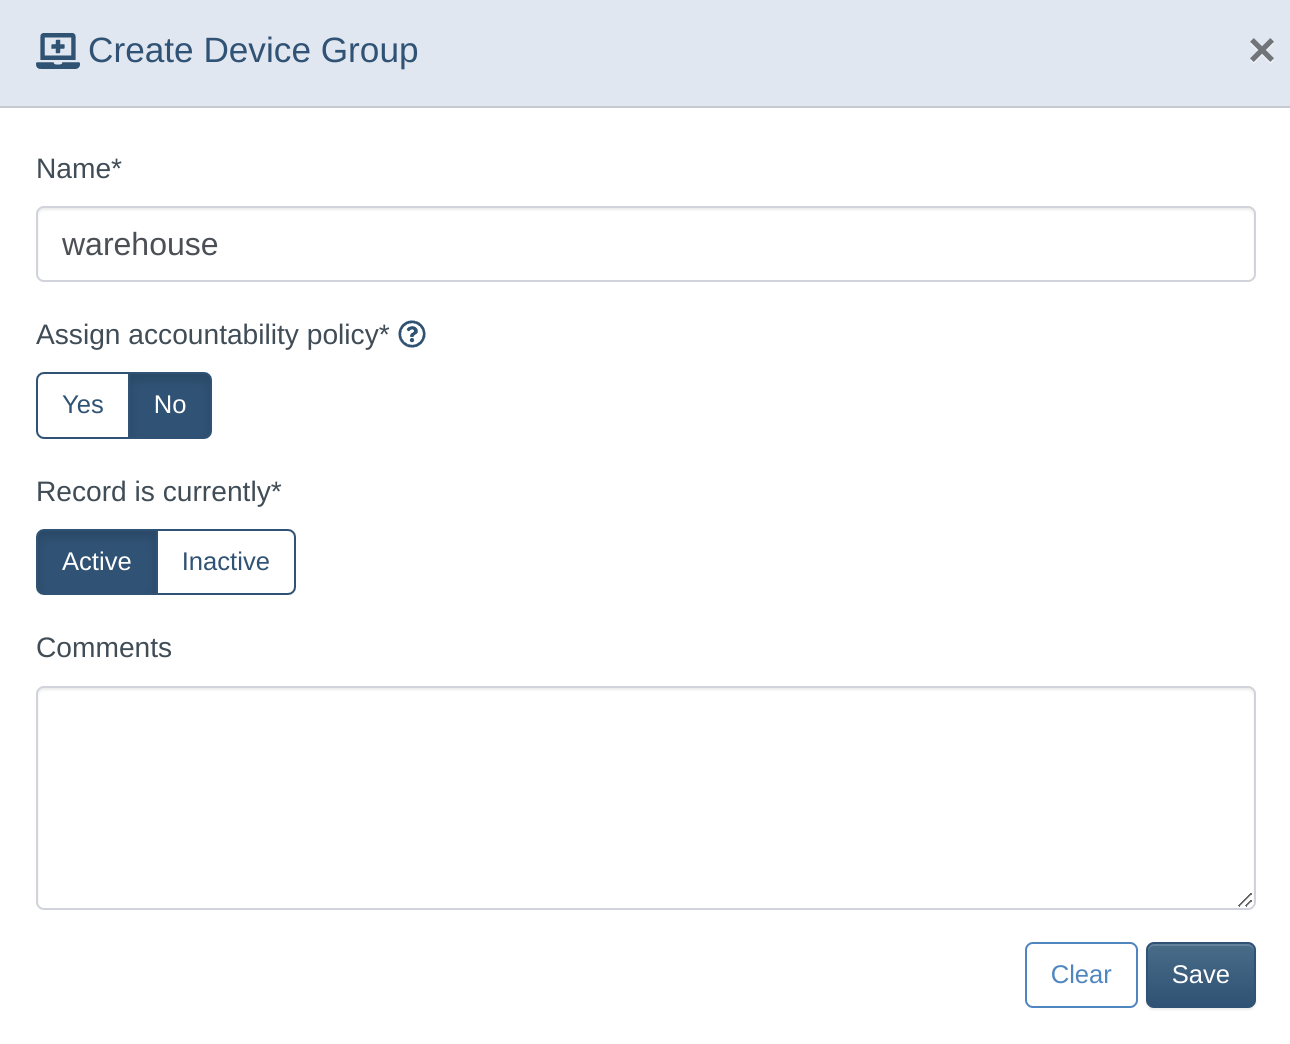
- Click the + button in the upper right of the list shown above, and a popup will appear for you to Create a new Device Group. Specify a Name for the Device Group (the other defaults shown are fine). Then Save.

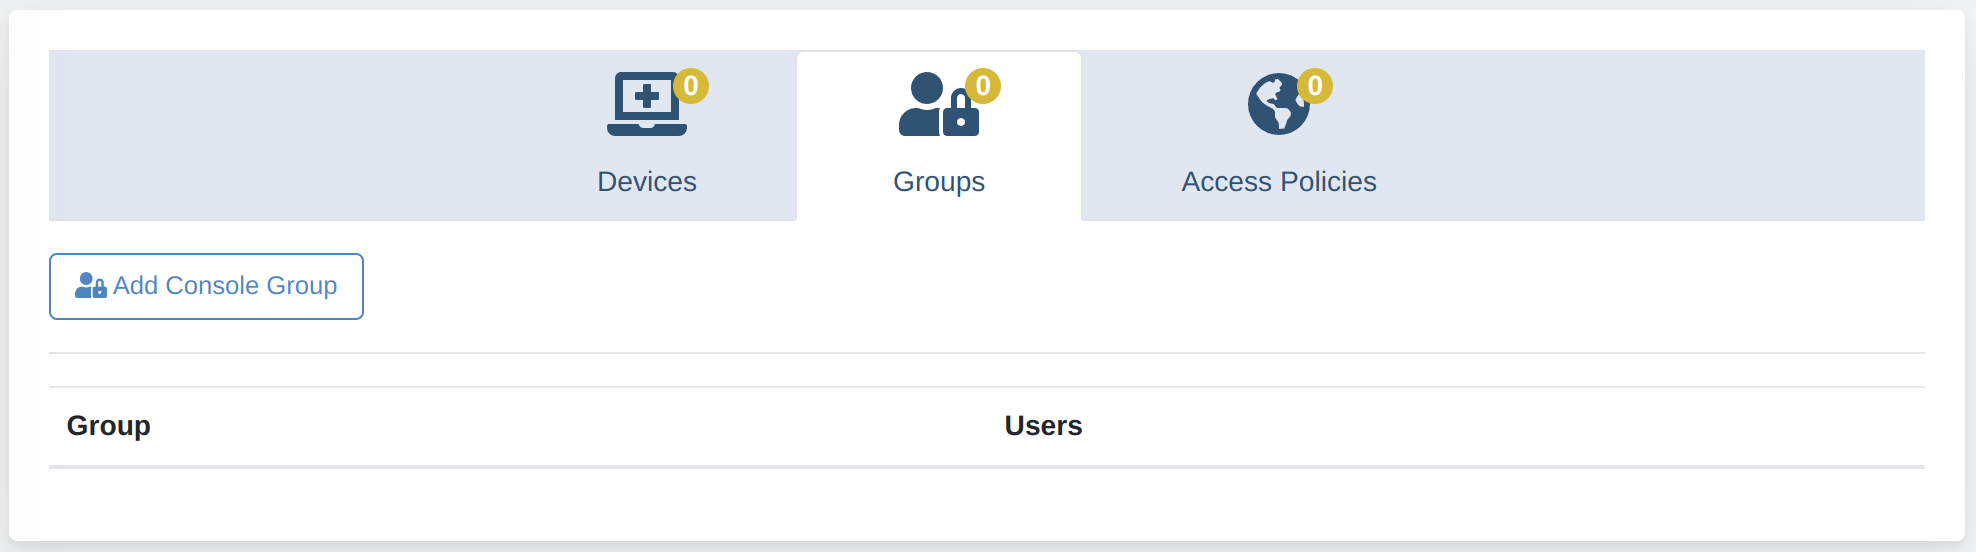
- Now we have our new Device Group, named "warehouse". Note that there are
0Devices and0Groups assigned:

2. Assign the Proxy User Group to the Device Group
- Click the
Add Console Groupbutton under the Groups tab to assign theProxy User Groupcreated earlier to this Device Group: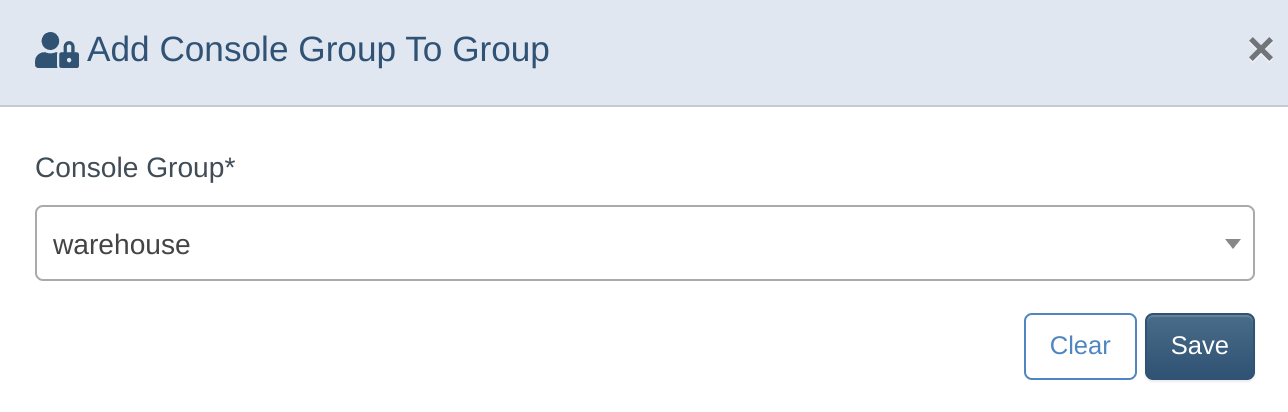
- Now we have the
warehouseProxy User Group assigned to thewarehouseDevice Group: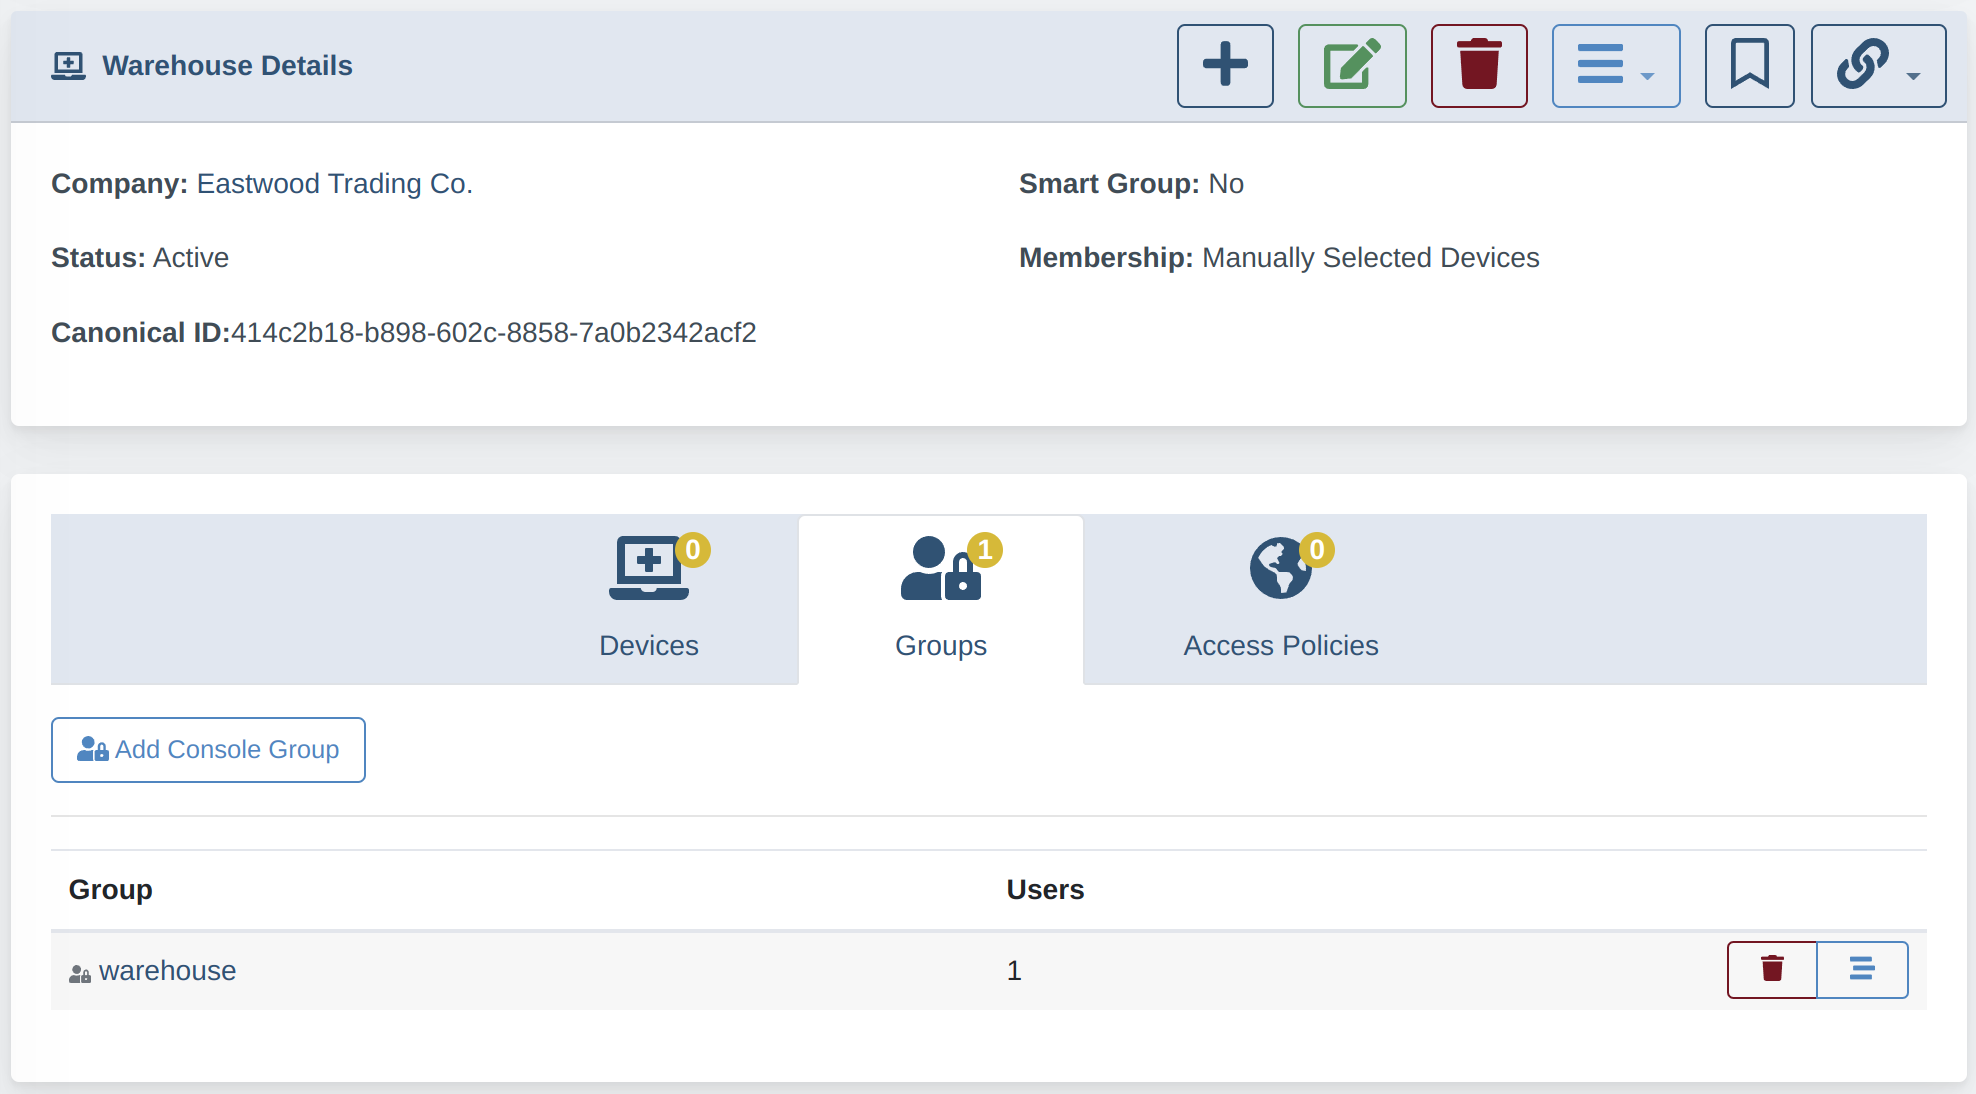


3. Create an Access Policy; associate the Device Group
-
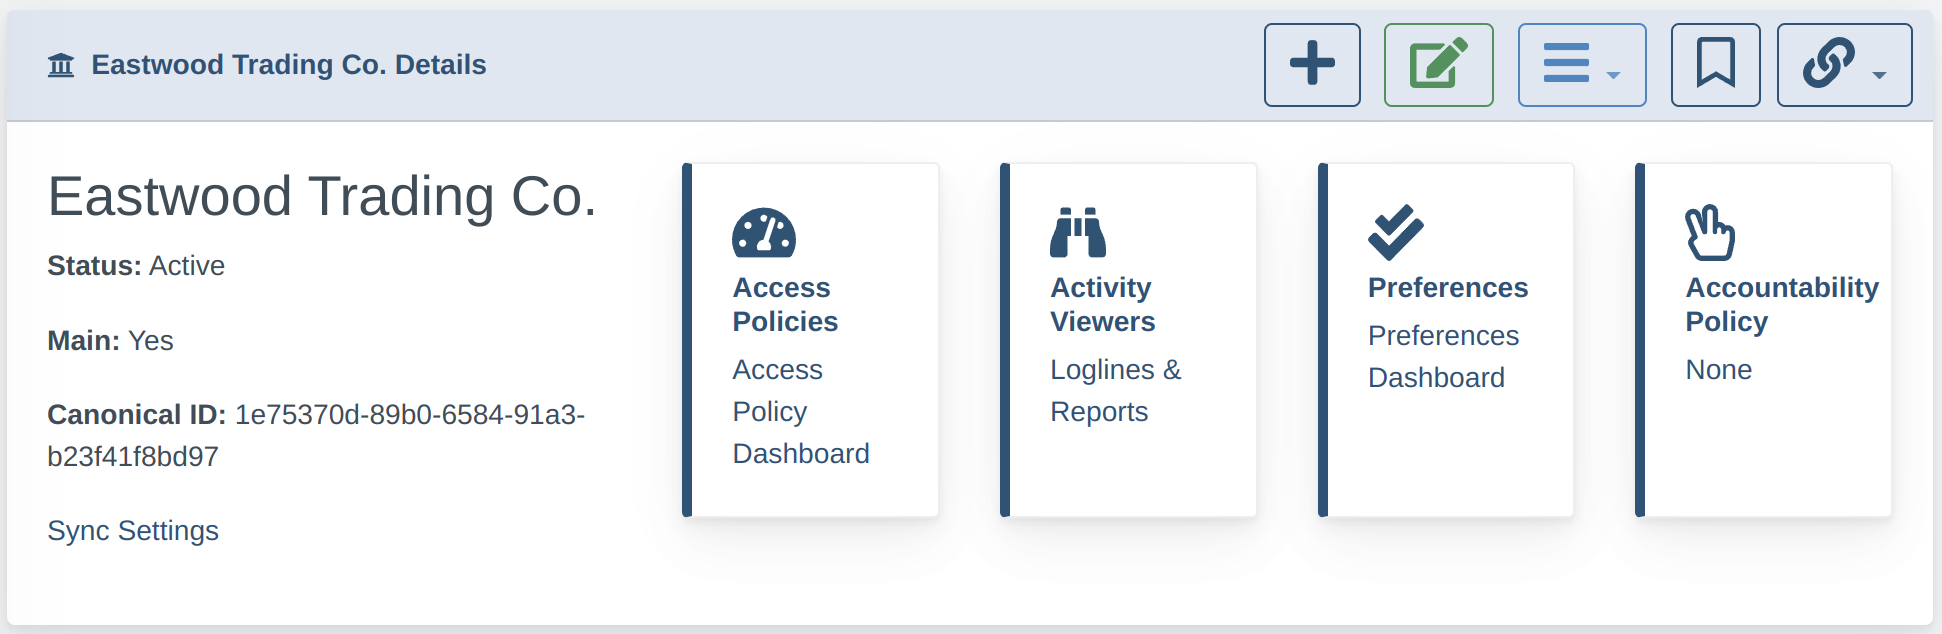
Navigate to
Accounts/Companies -
Click the
Access Polices: Access Policy Dashboardon your Company record page:
-
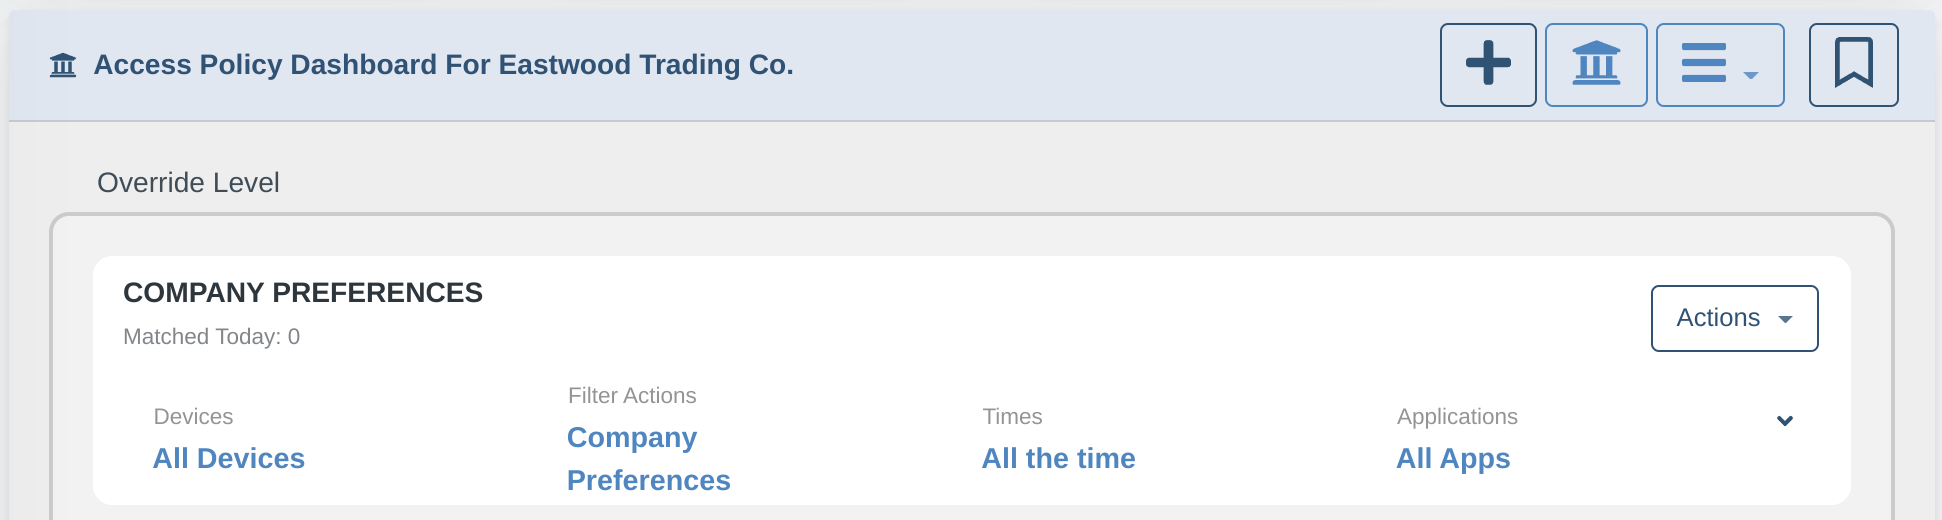
Click the + button at the top of the Access Policies list to create a new Access Policy:

-
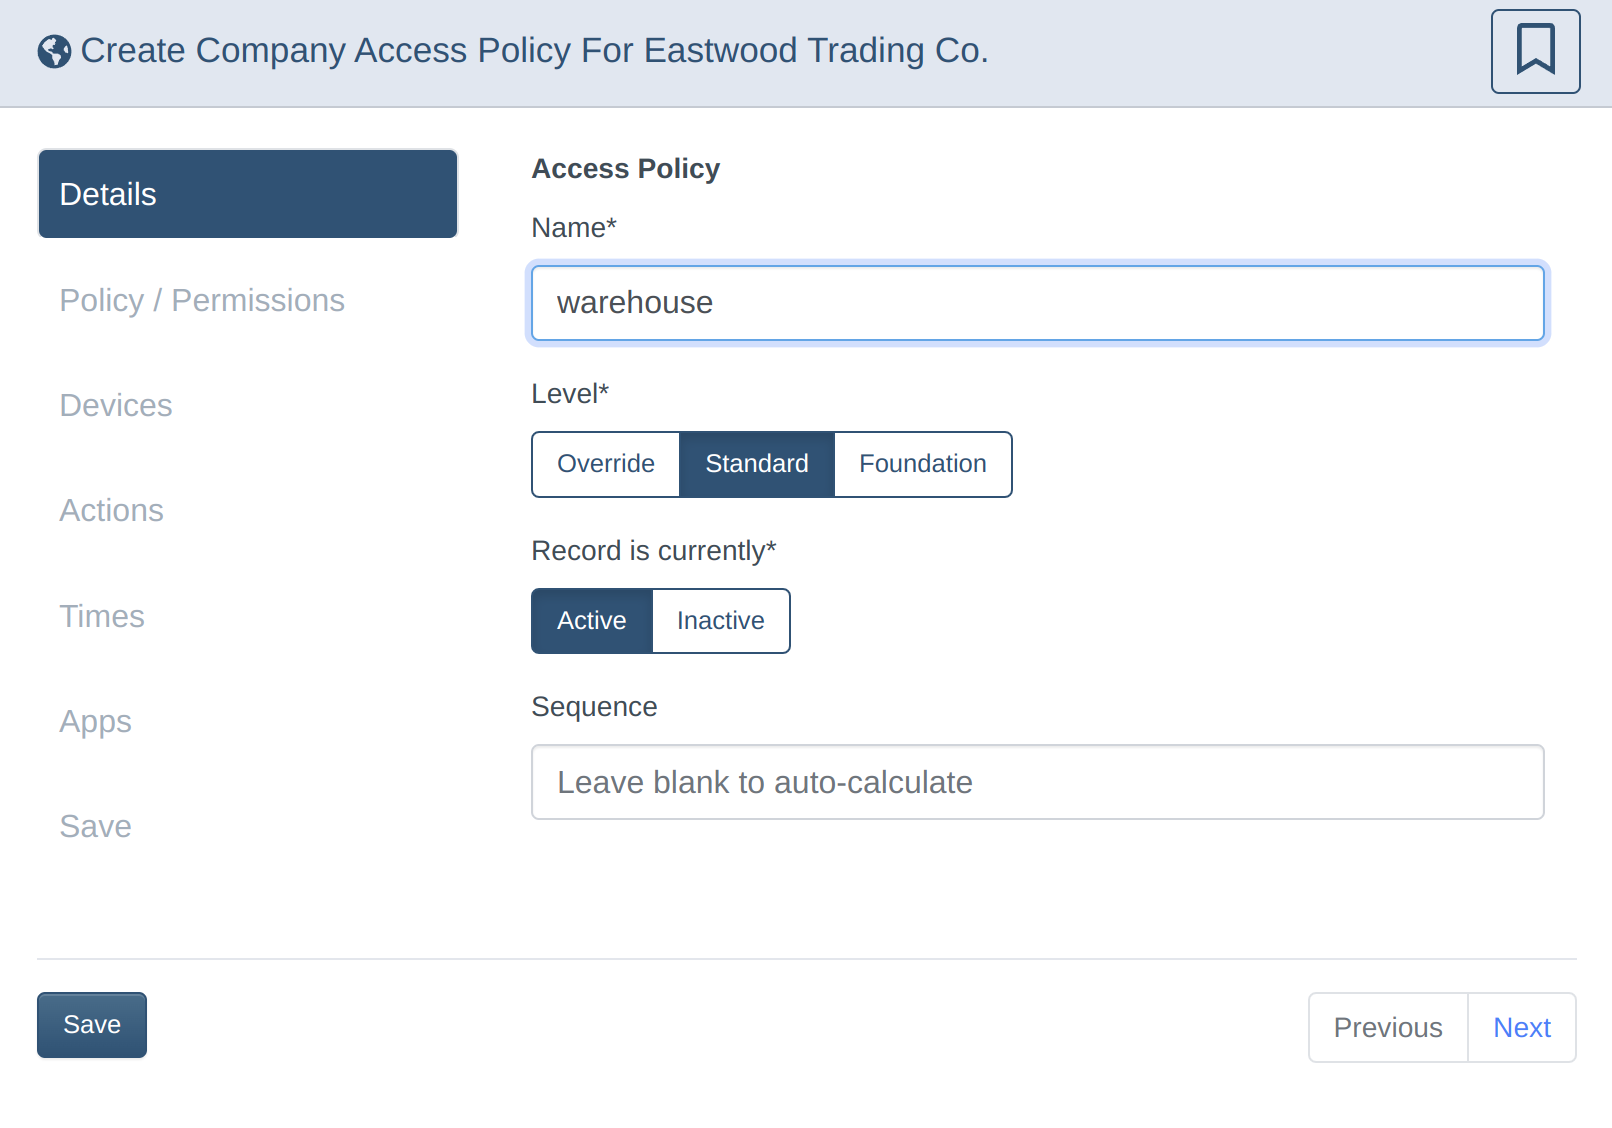
Give the Policy a name; in this case, I'm matching the name I gave to the Device Group:
warehouse. The other settings here can be left on the default selections.
-
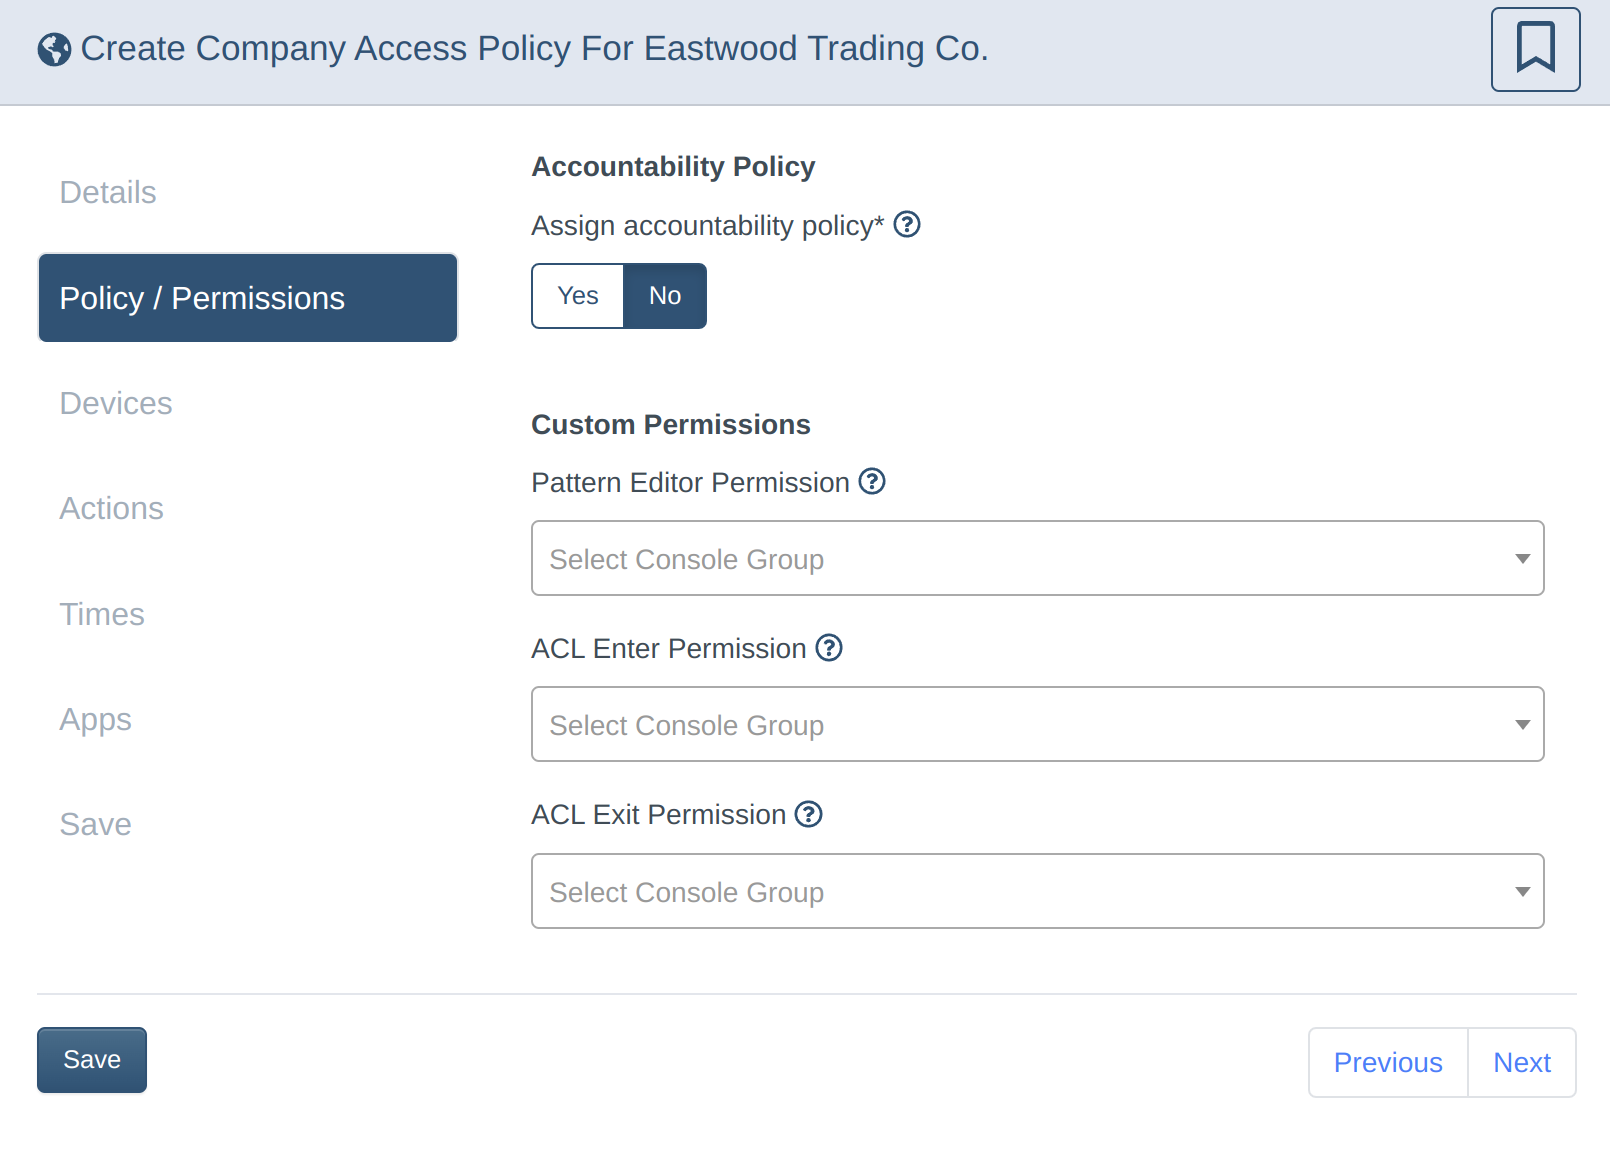
Assign any Policy associations or permissions. If you don't wish to set any of these parameters, continue to Devices, below.

-
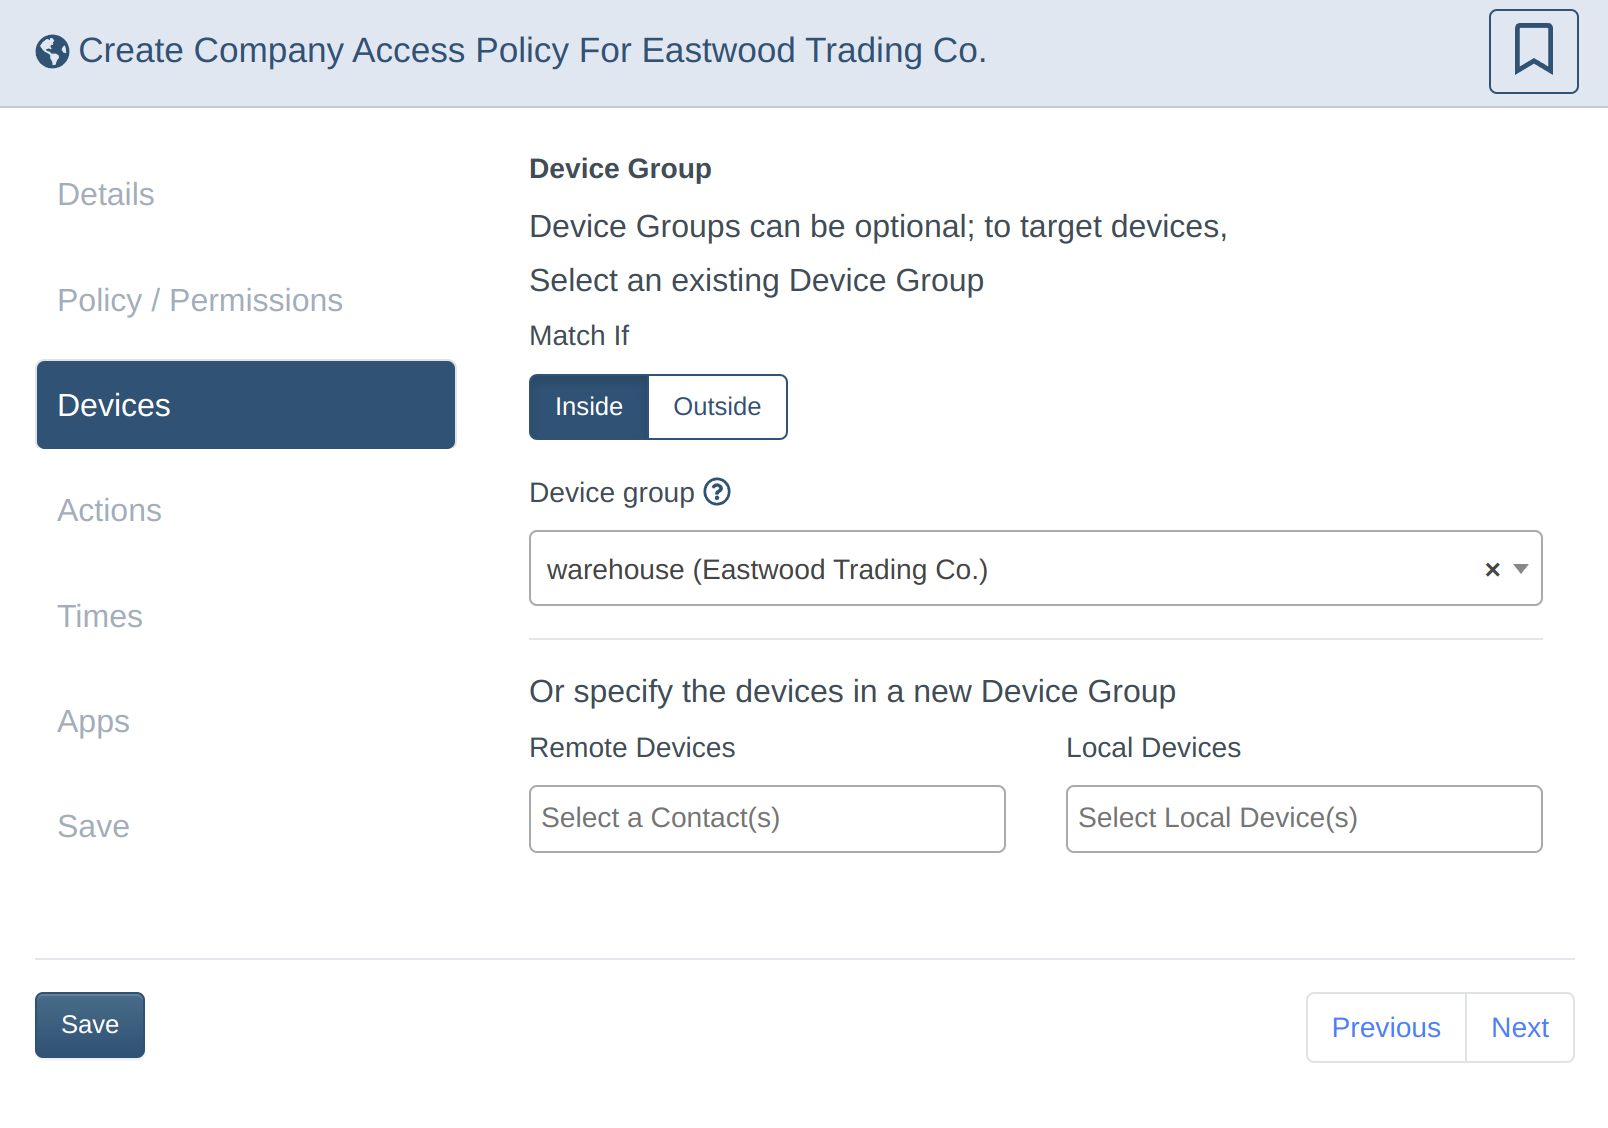
Assign the
warehouseDevice Group created above on this page.
-
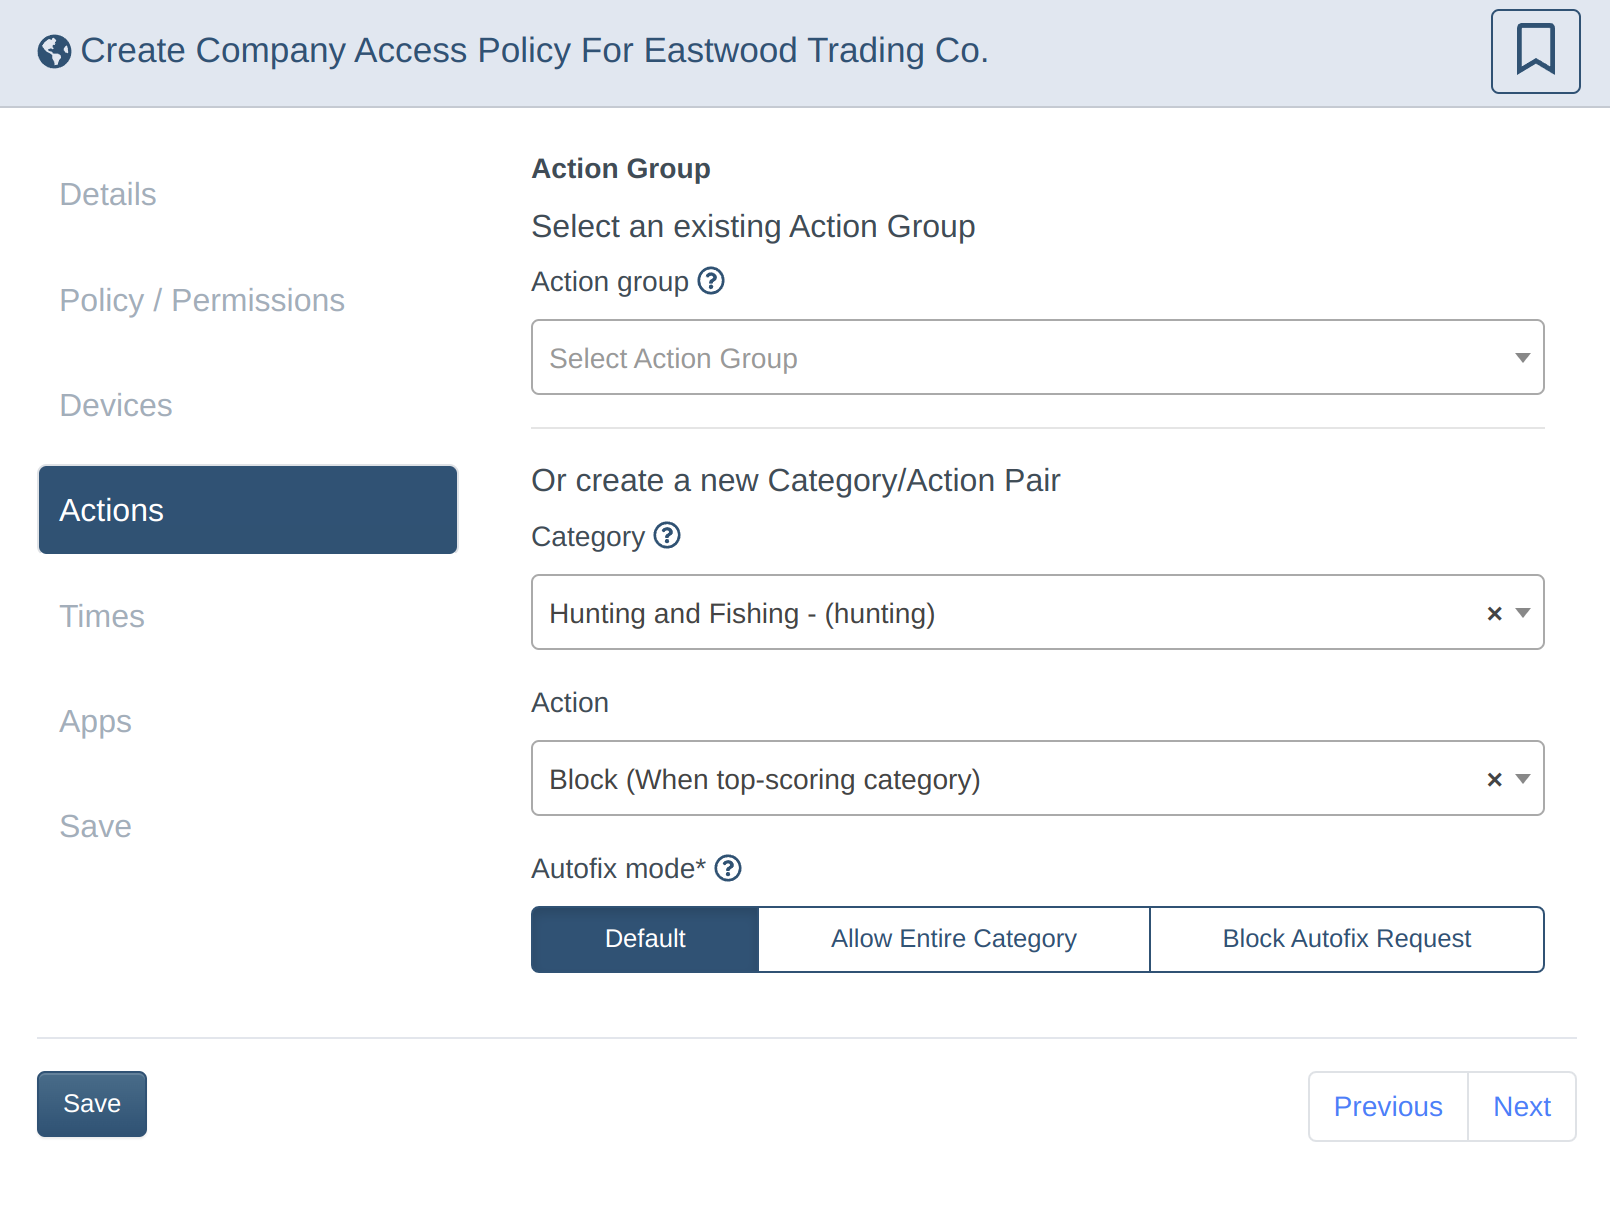
Assign either a pre-existing Action Group, or automatically create a new one by picking a Category and desired Action for that category that will be assigned to this Device Group.
The Autofix Mode settings can be left on the defaults unless you prefer them otherwise.

-
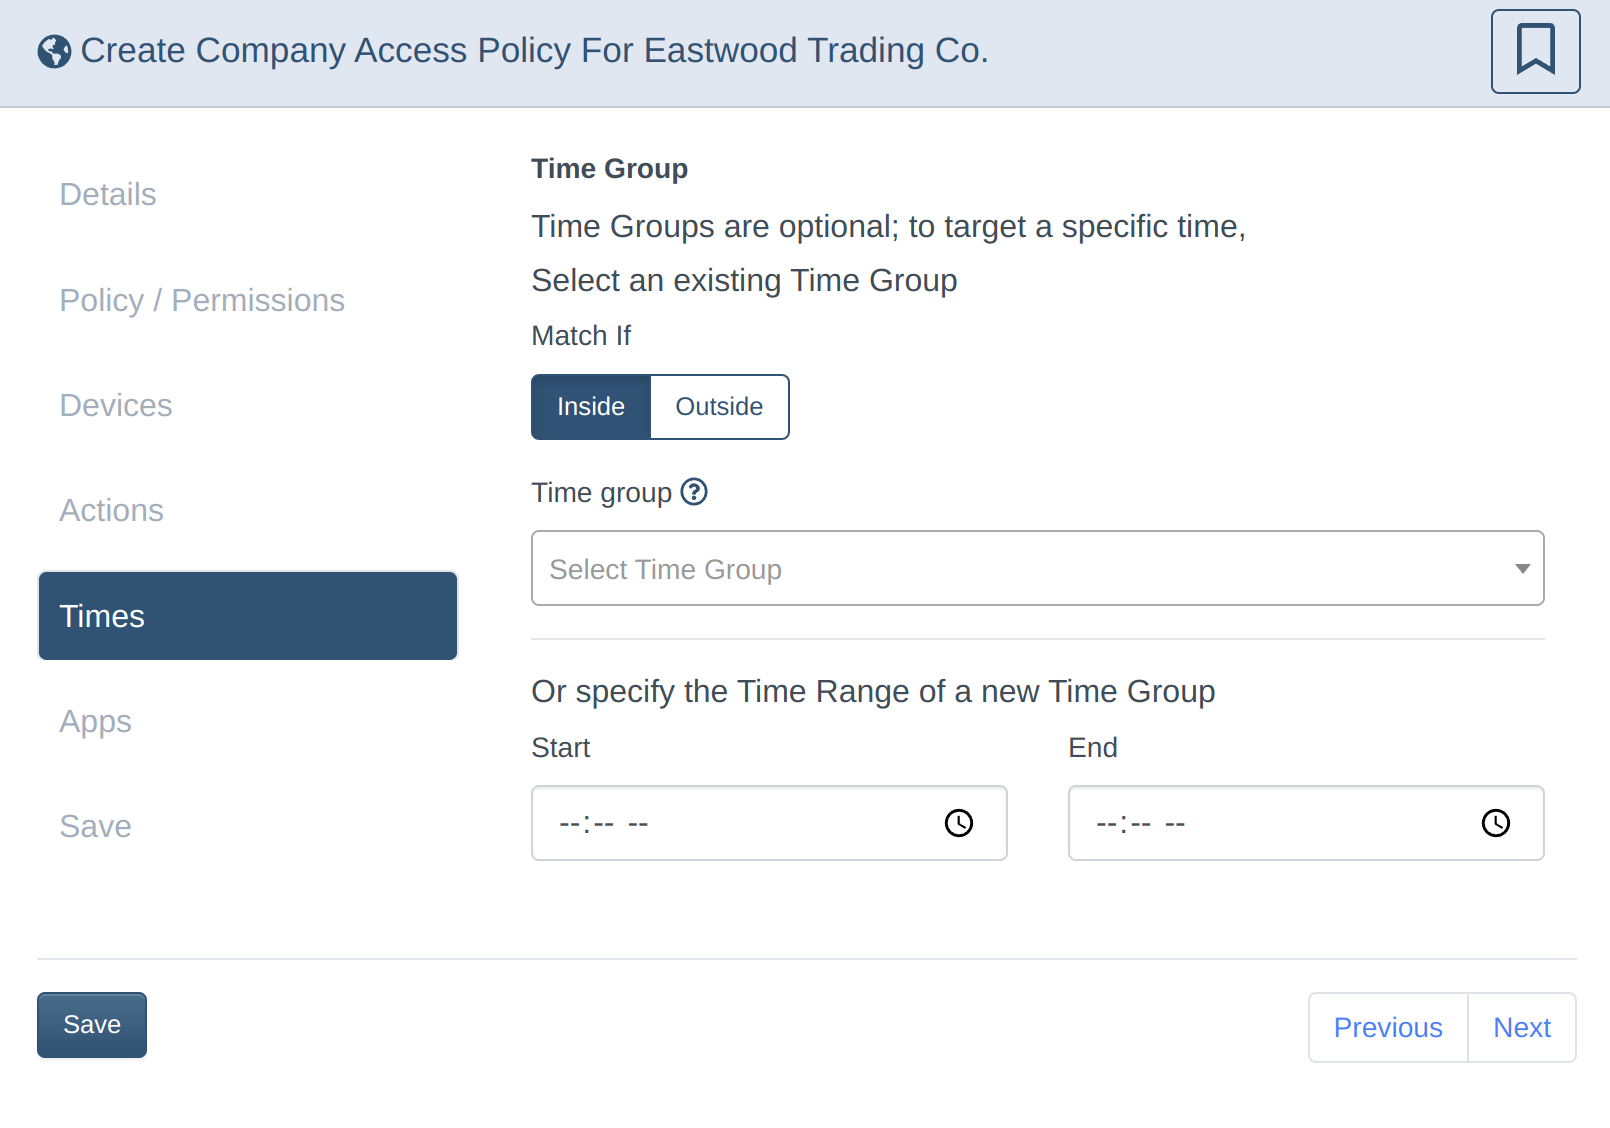
Assign any Times you wish this policy to apply. If nothing is selected, the policy will apply all the time.

-
Assign any App associations (advanced functionality). Generally this is left unspecified (applies to all apps).

-
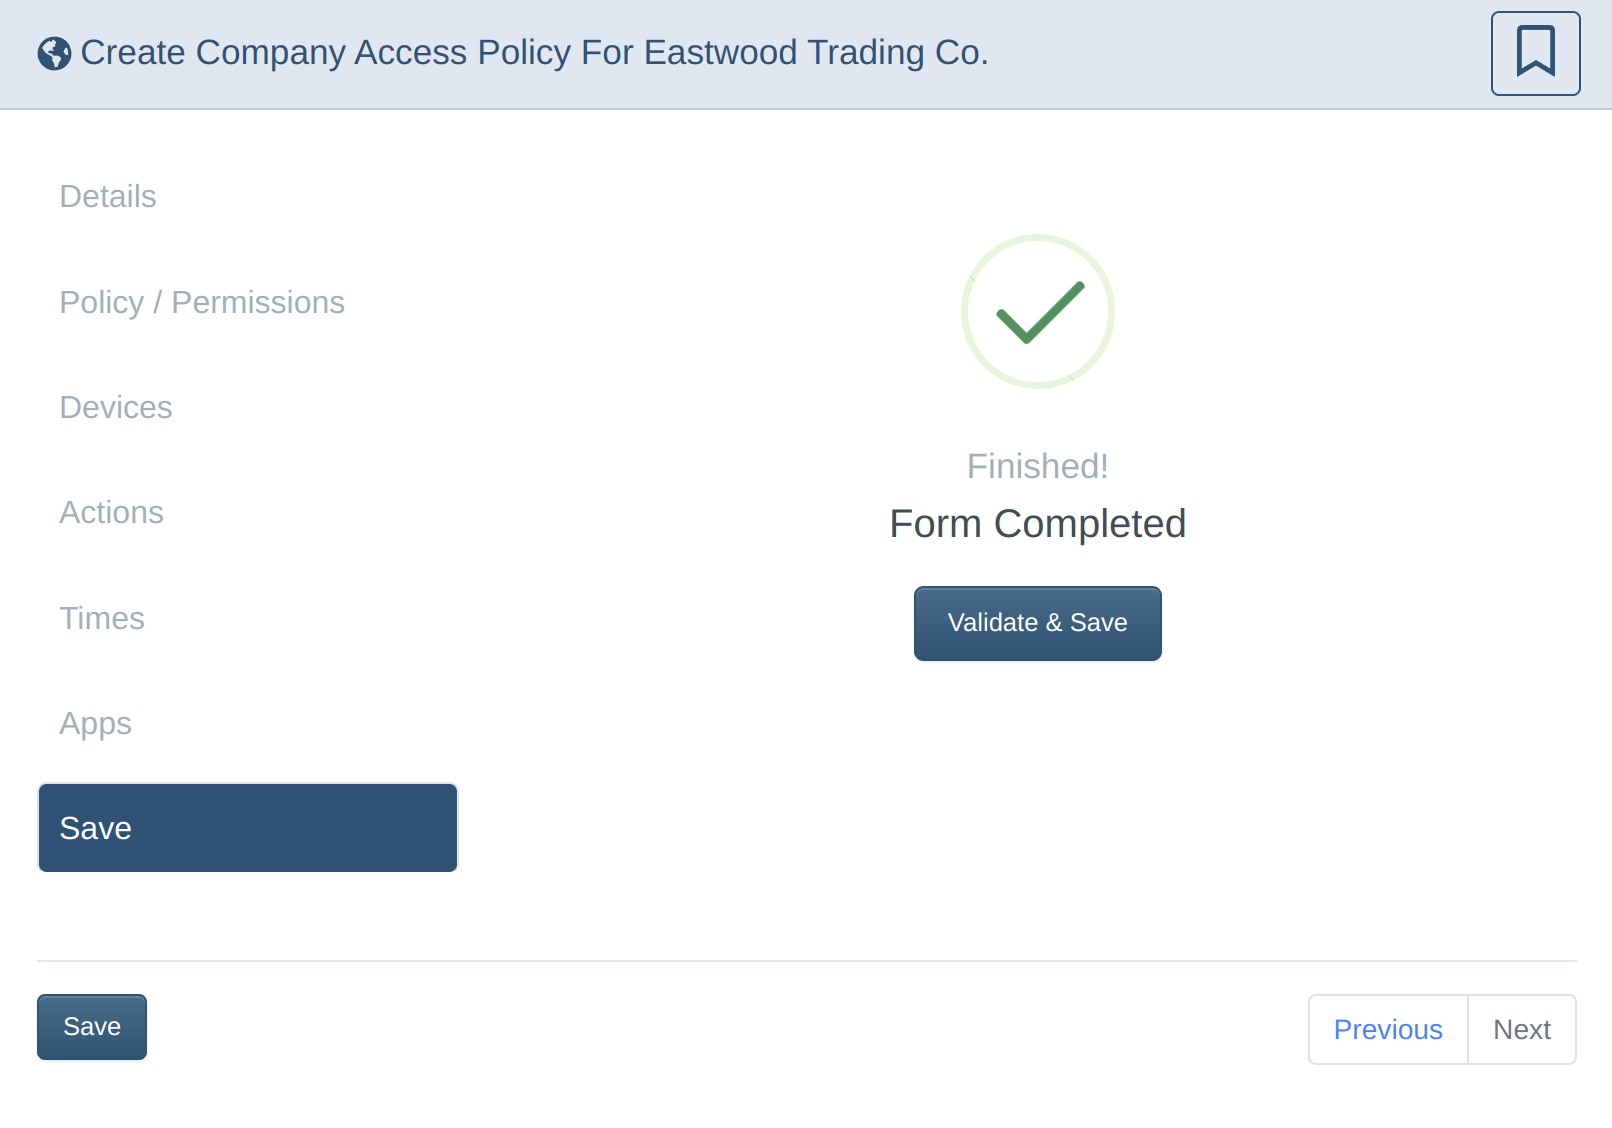
Save the new Access Policy:
-
Now you have your finished Access Policy that applies to the
warehouseDevice Group, which has thewarehouseProxy Group users as members.Note that though it is showing no Devices, the policy is still applying to the Users associated with the selected Device Group.

-
To change the filter policy actions, click the Categories tab and use the
Add Category Action PairorBulk Assign Categoriesto modify the filter policy as desired.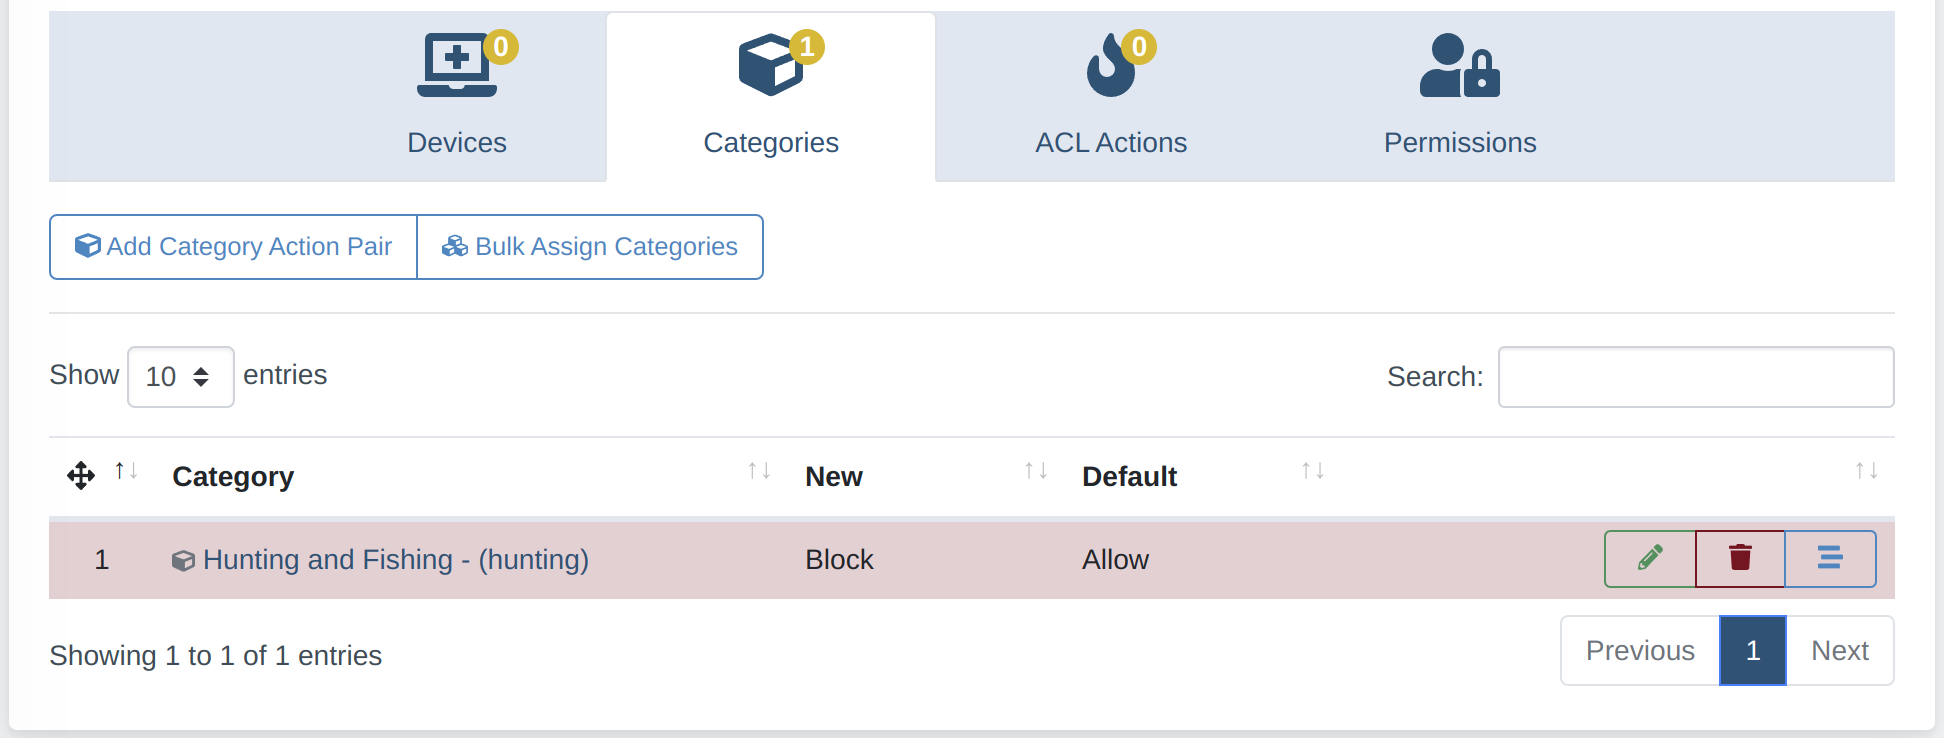
-
When finished, apply your changes by clicking on the Reload prompt:
 And confirm: