Configure Proxy User Groups
Proxy User Groups can have two origins:
- Directory Groups synchronized from your Active Directory or LDAP server
- "Standalone" Proxy User Groups created in the DrawBridge (no AD/LDAP server association)
Directory User Groups as Proxy User Groups
(Active Directory/LDAP server sync)
- Ensure your Active Directory/LDAP server has been configured per the directions in the How To Guide: Set up Active Directory Sync
- Ensure the Directory User Groups (
Accounts/Groups/Directory Groups) have synchronized from your AD server. - Select the Directory User Group you wish to set as a Proxy User Group
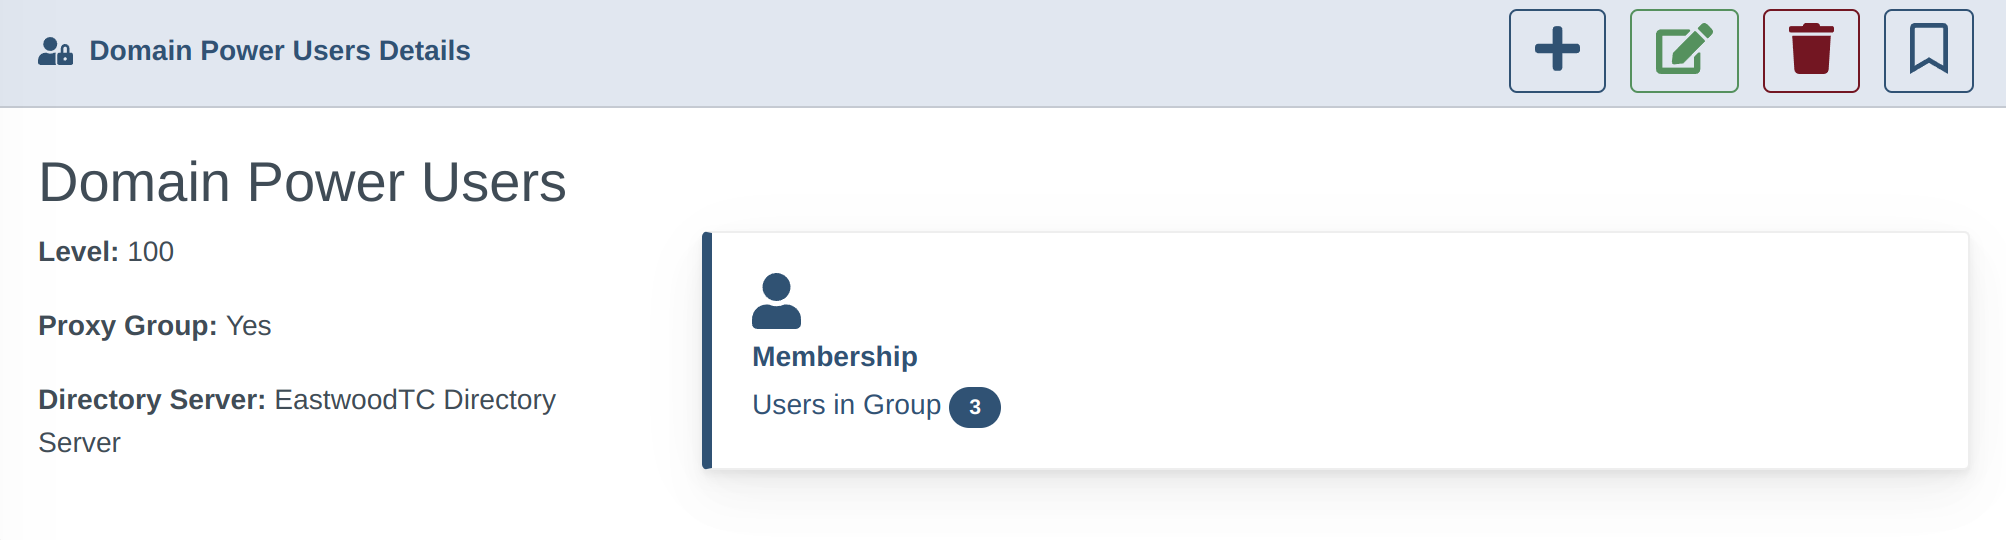
- In the Directory User Group record view, tap the Edit pencil button (note in this screenshot that the Proxy Group designation is No.

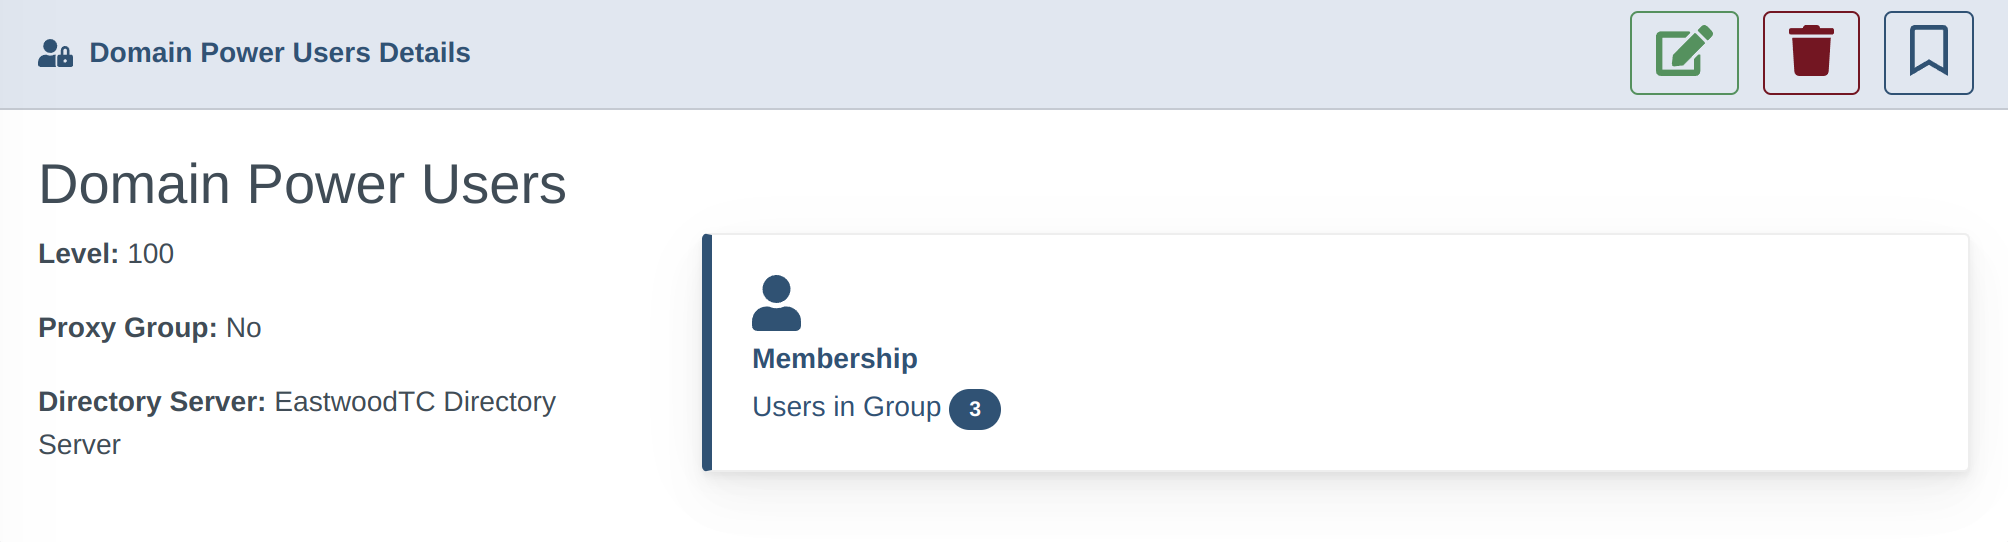
- In the Edit/Update popup, toggle Proxy Users to Yes, as shown in this screenshot, and Save
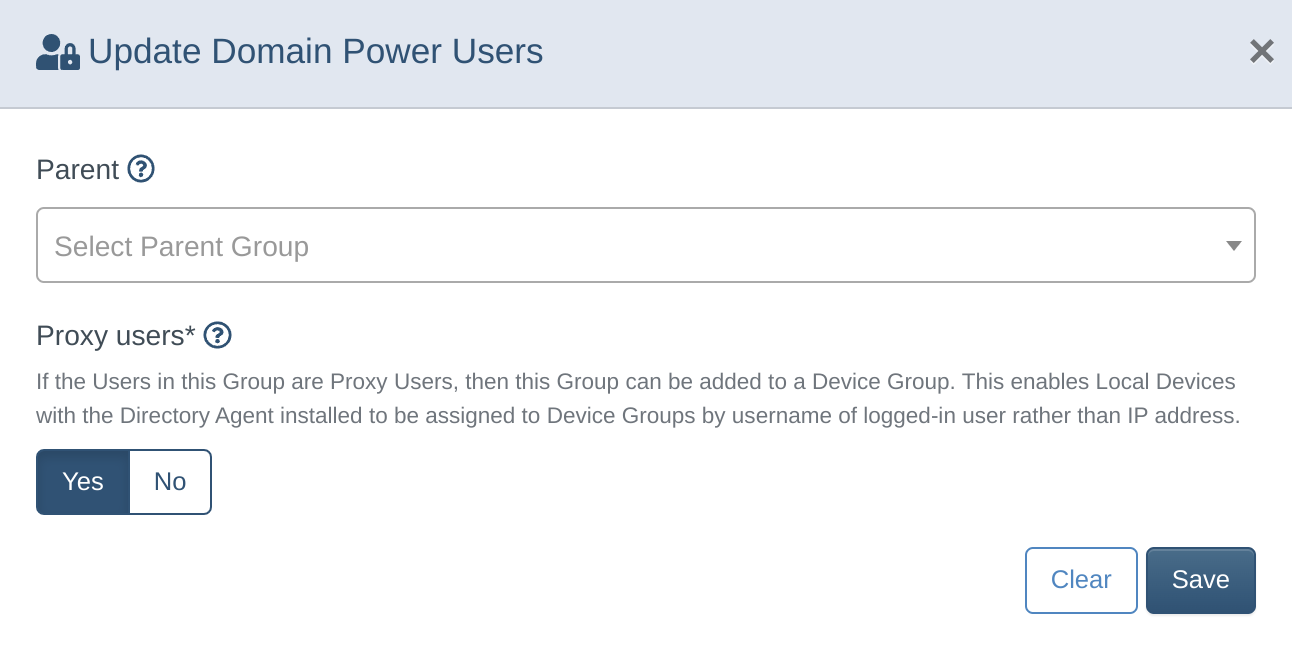
- Now the Directory User Group is a Proxy User Group
- Next Step: Proceed to How To Guide: Assign an Access Policy to a Proxy User Group


Proxy User Groups (standalone)
(no Active Directory/LDAP server sync)
-
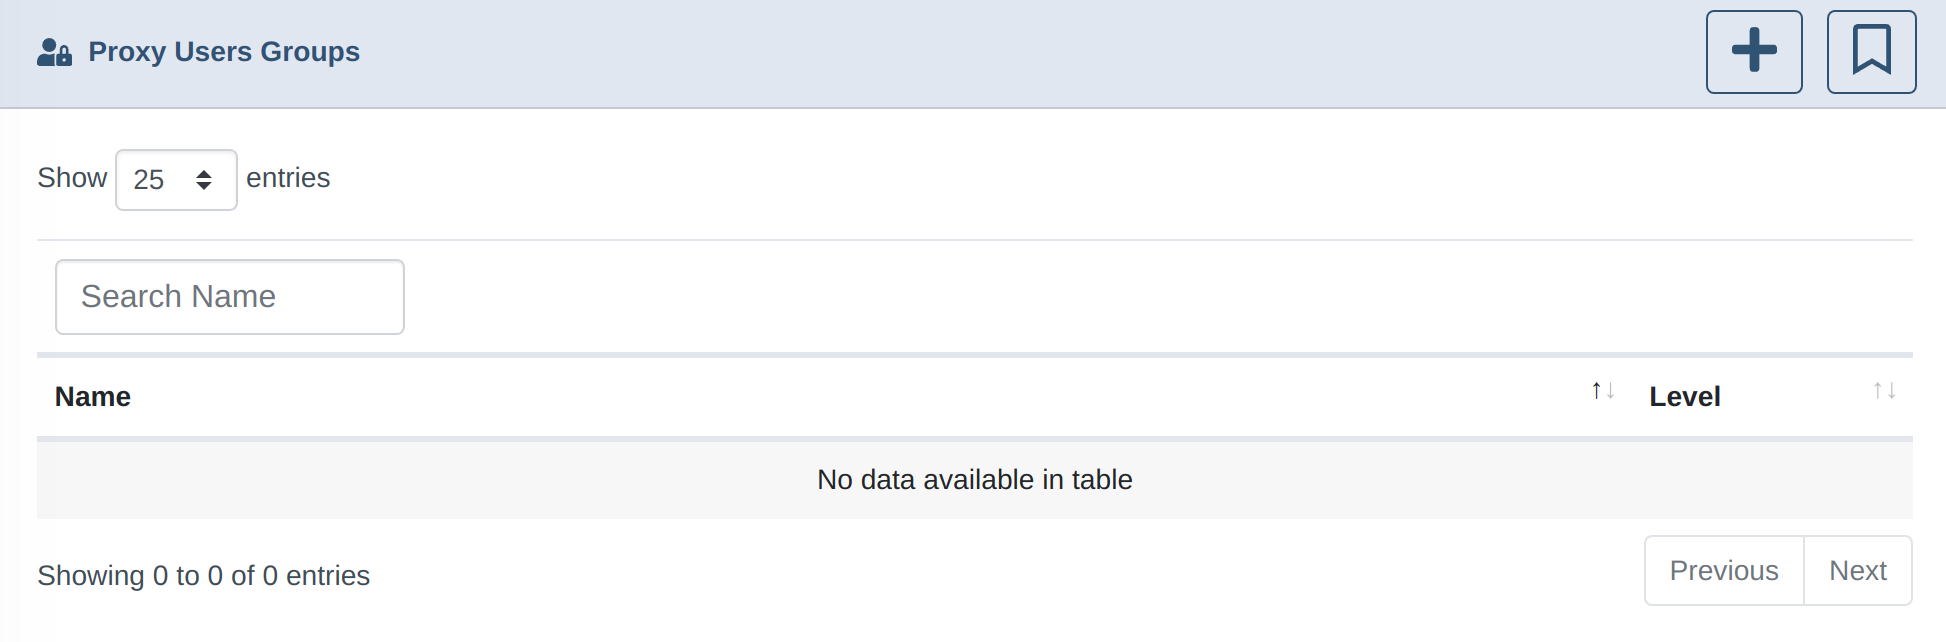
Select
Proxy User GroupsunderAccounts/Groups.Note that if you have a Directory User Group assigned as a Proxy User Group, it will display in this list.
In this screenshot, the system does not have any Proxy User Groups.
-
Create a new Proxy User Group by clicking the + button in the upper right corner of the list view, above.
-
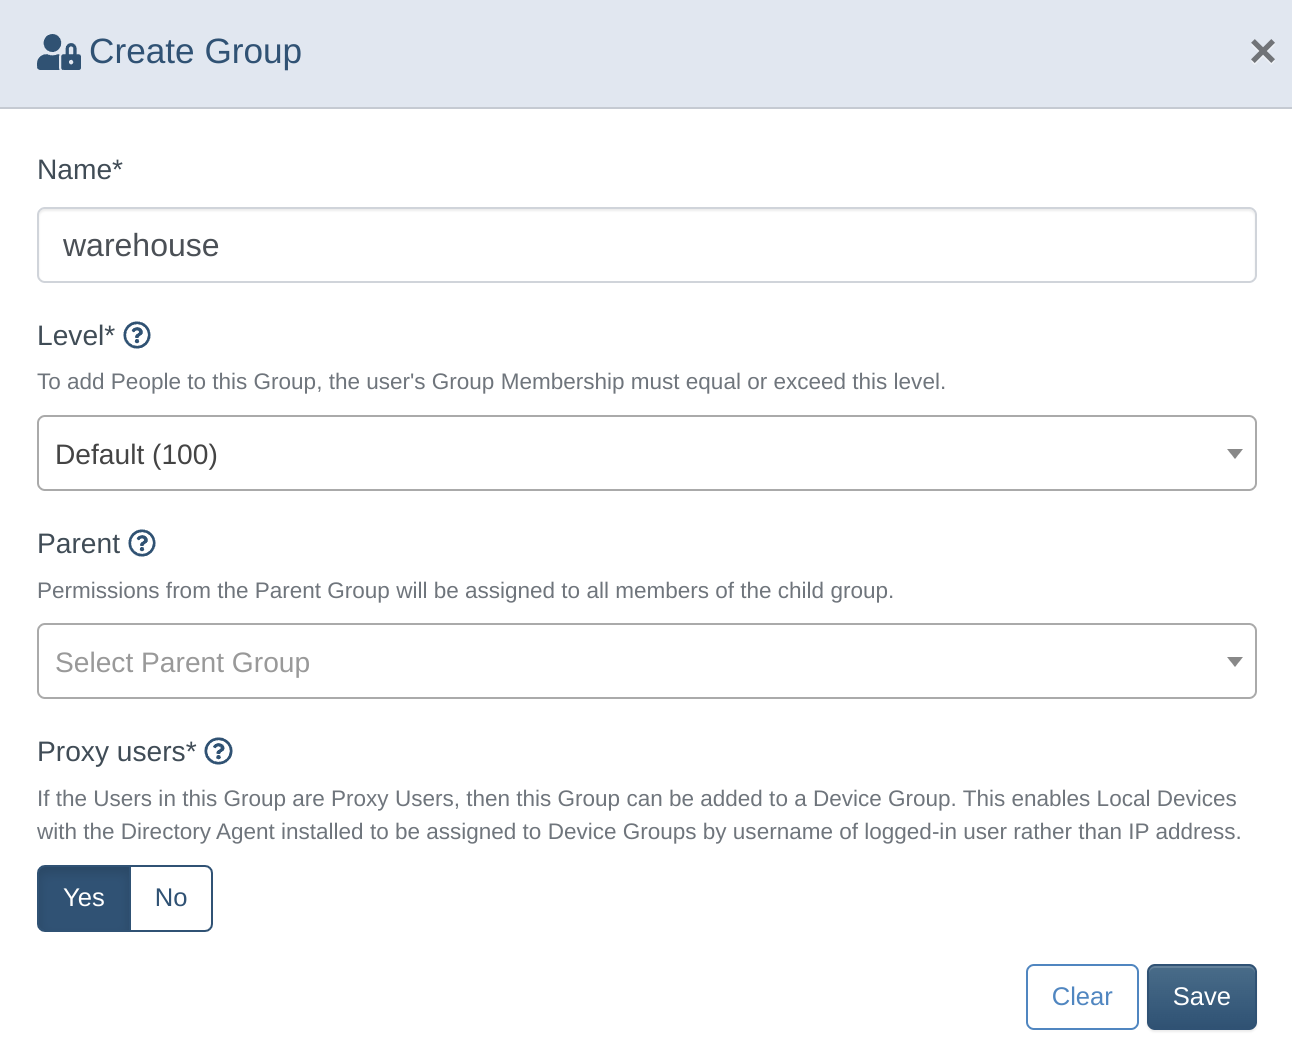
In the
Create Grouppopup, as shown below:- give the group a Name
- assign a minimum Permission Level
- select a Parent Group if desired
- toggle Proxy Users to Yes

-
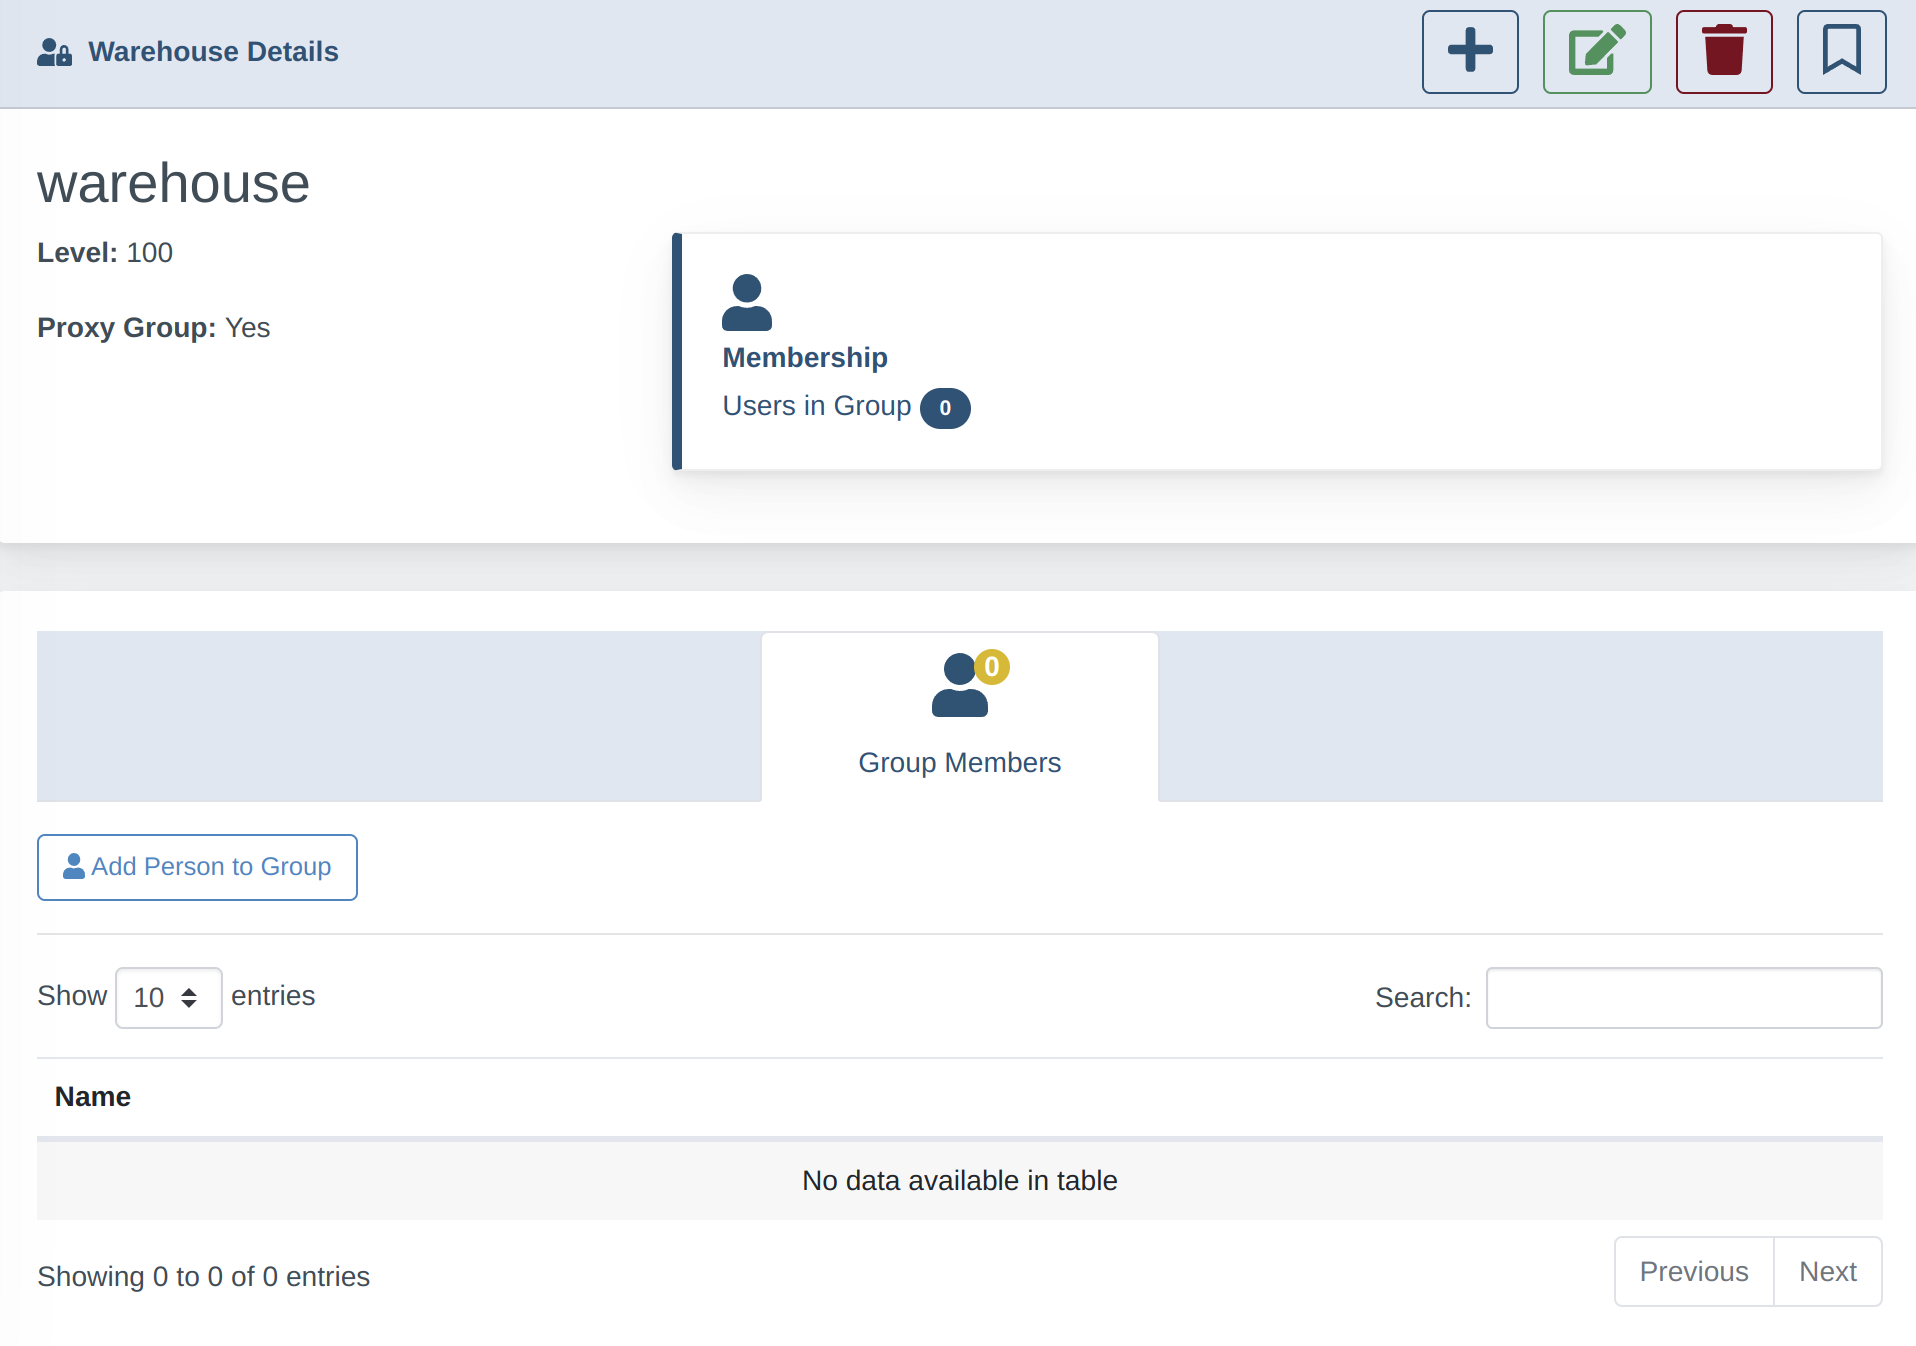
Now you have a Proxy User Group, but no People have been assigned as Members yet:

-
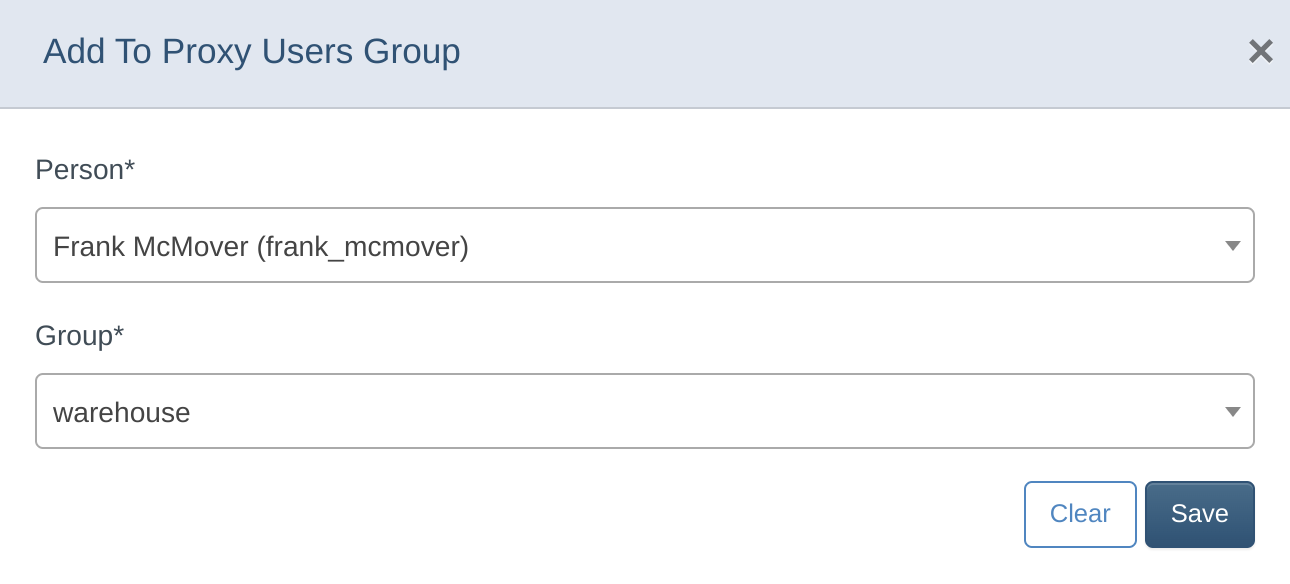
Assign a Person as a Member by clicking the
Add Person to Group button; a pop-up will appear. Select the existing Person record to assign to the group.
-
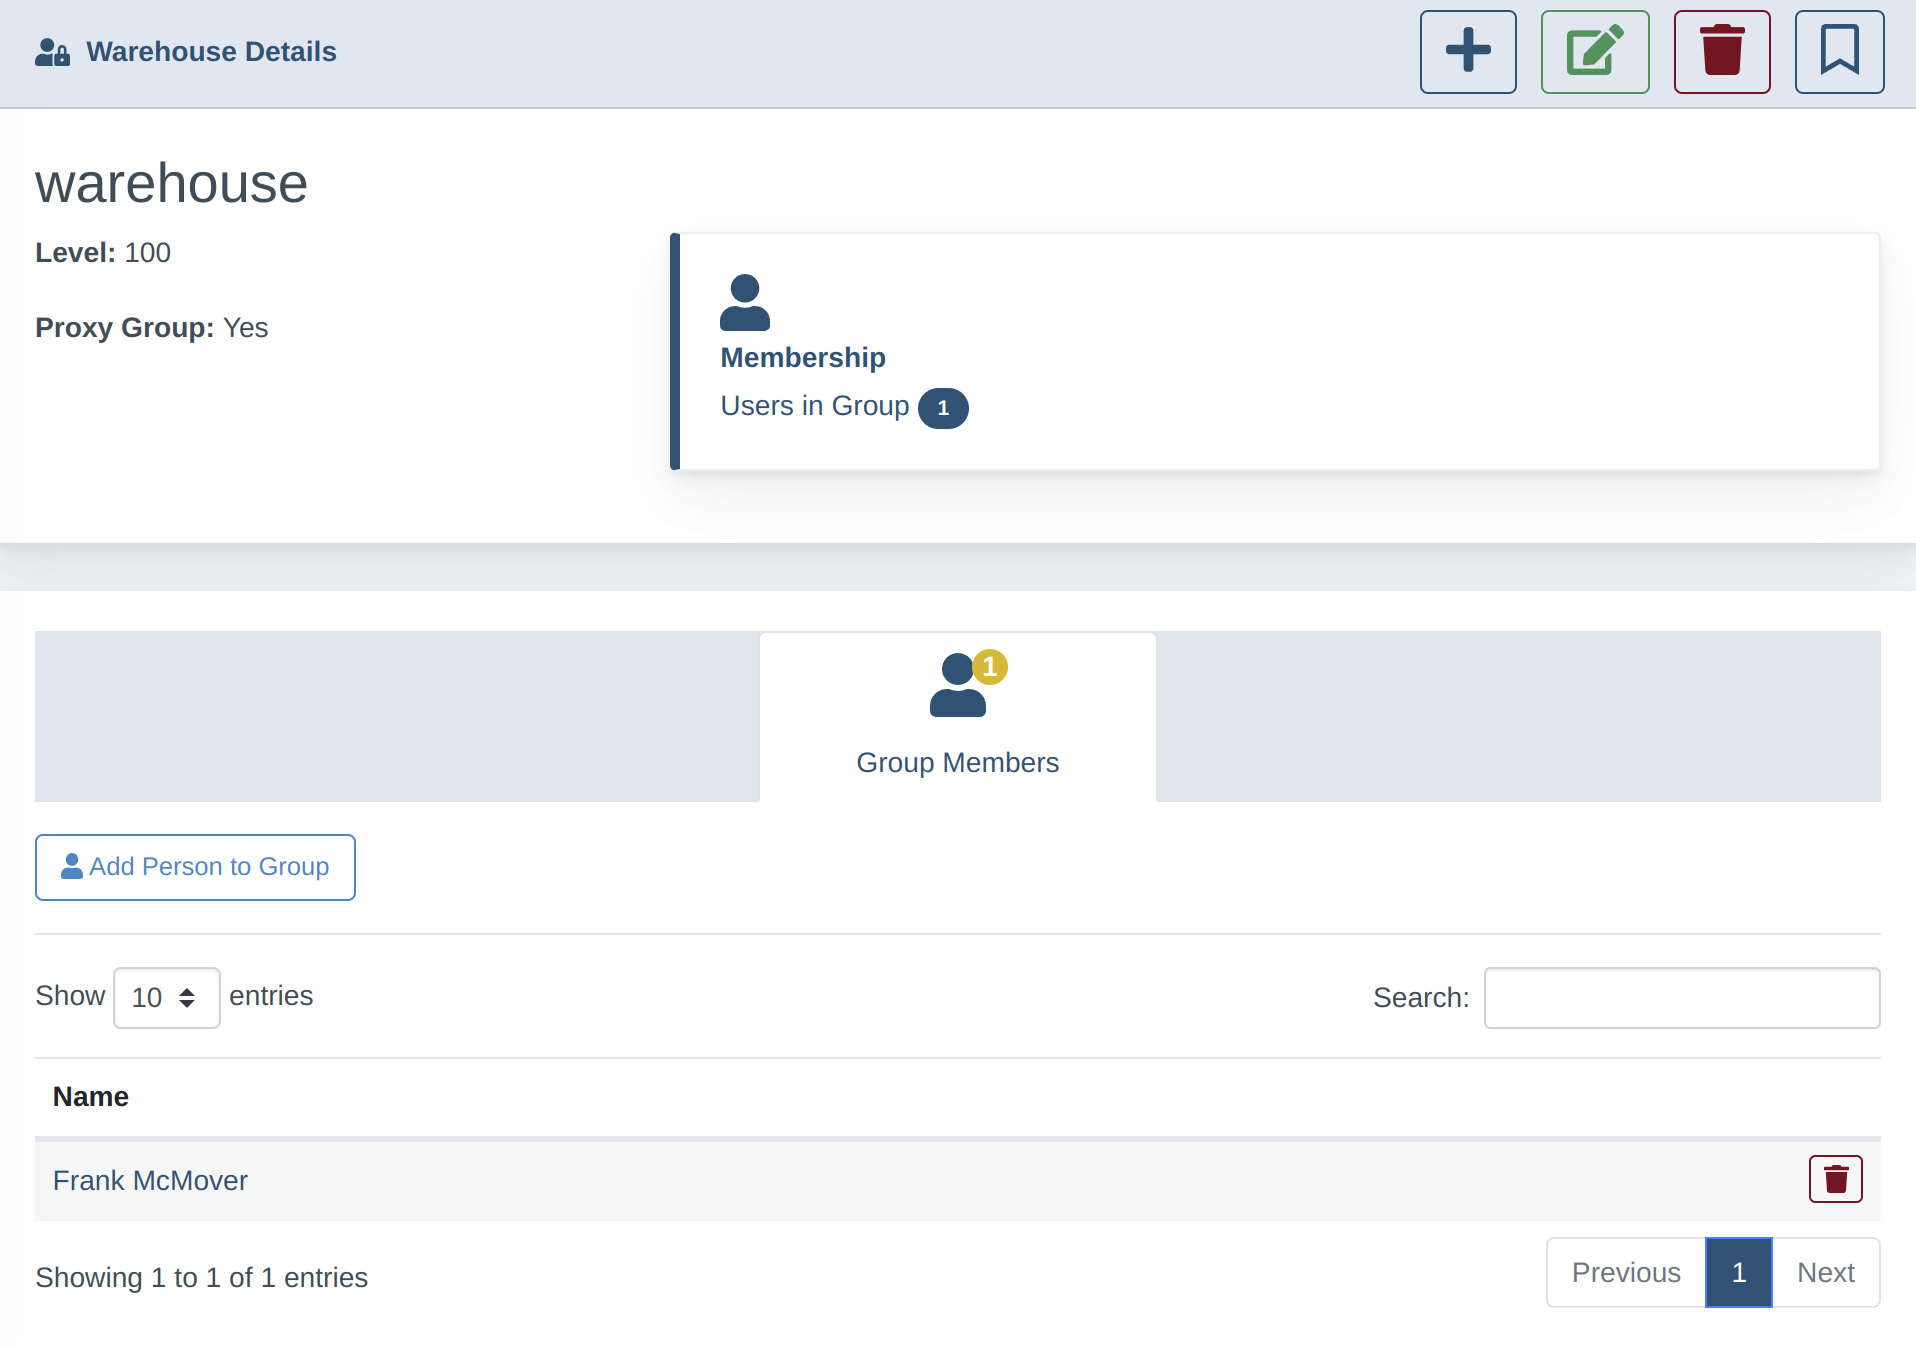
Now your Proxy User Group has one Member:
-
Next Step: Proceed to How To Guide: Assign an Access Policy to a Proxy User Group